
More Plants, Less Plastic
Tips to reduce plastic pollution in the garden

Gardeners nurture nature and yet large, mainstream nurseries cram their shelves with polluting plastic. Plastic gets a free pass because of that other p-word—profit. But as in the kitchen, we can reduce the amount of plastic generated in the garden with a little creativity and planning.
Acquire soil, mulch or compost without the plastic bags
Gardening centers sell soil, mulch and compost in large 40- to 50-pound plastic bags. One raised bed may need five bags of soil, another bag of compost to mix in and perhaps a partial bag of mulch to cover the bed. That throwaway plastic adds up.
If you need two or three cubic yards of soil, compost or mulch—or more—a landscape supply company near you will likely deliver it. You’ll eliminate the plastic and, even with delivery fees, buying in bulk can save money.
As another option, some landscape supply stores sell soil, mulch or compost in huge reusable, returnable totes.
Acquire free mulch without the plastic bags
I’ve mentioned ChipDrop in a few previous newsletters and I swear, I don’t get paid to promote the service. I just really like it!
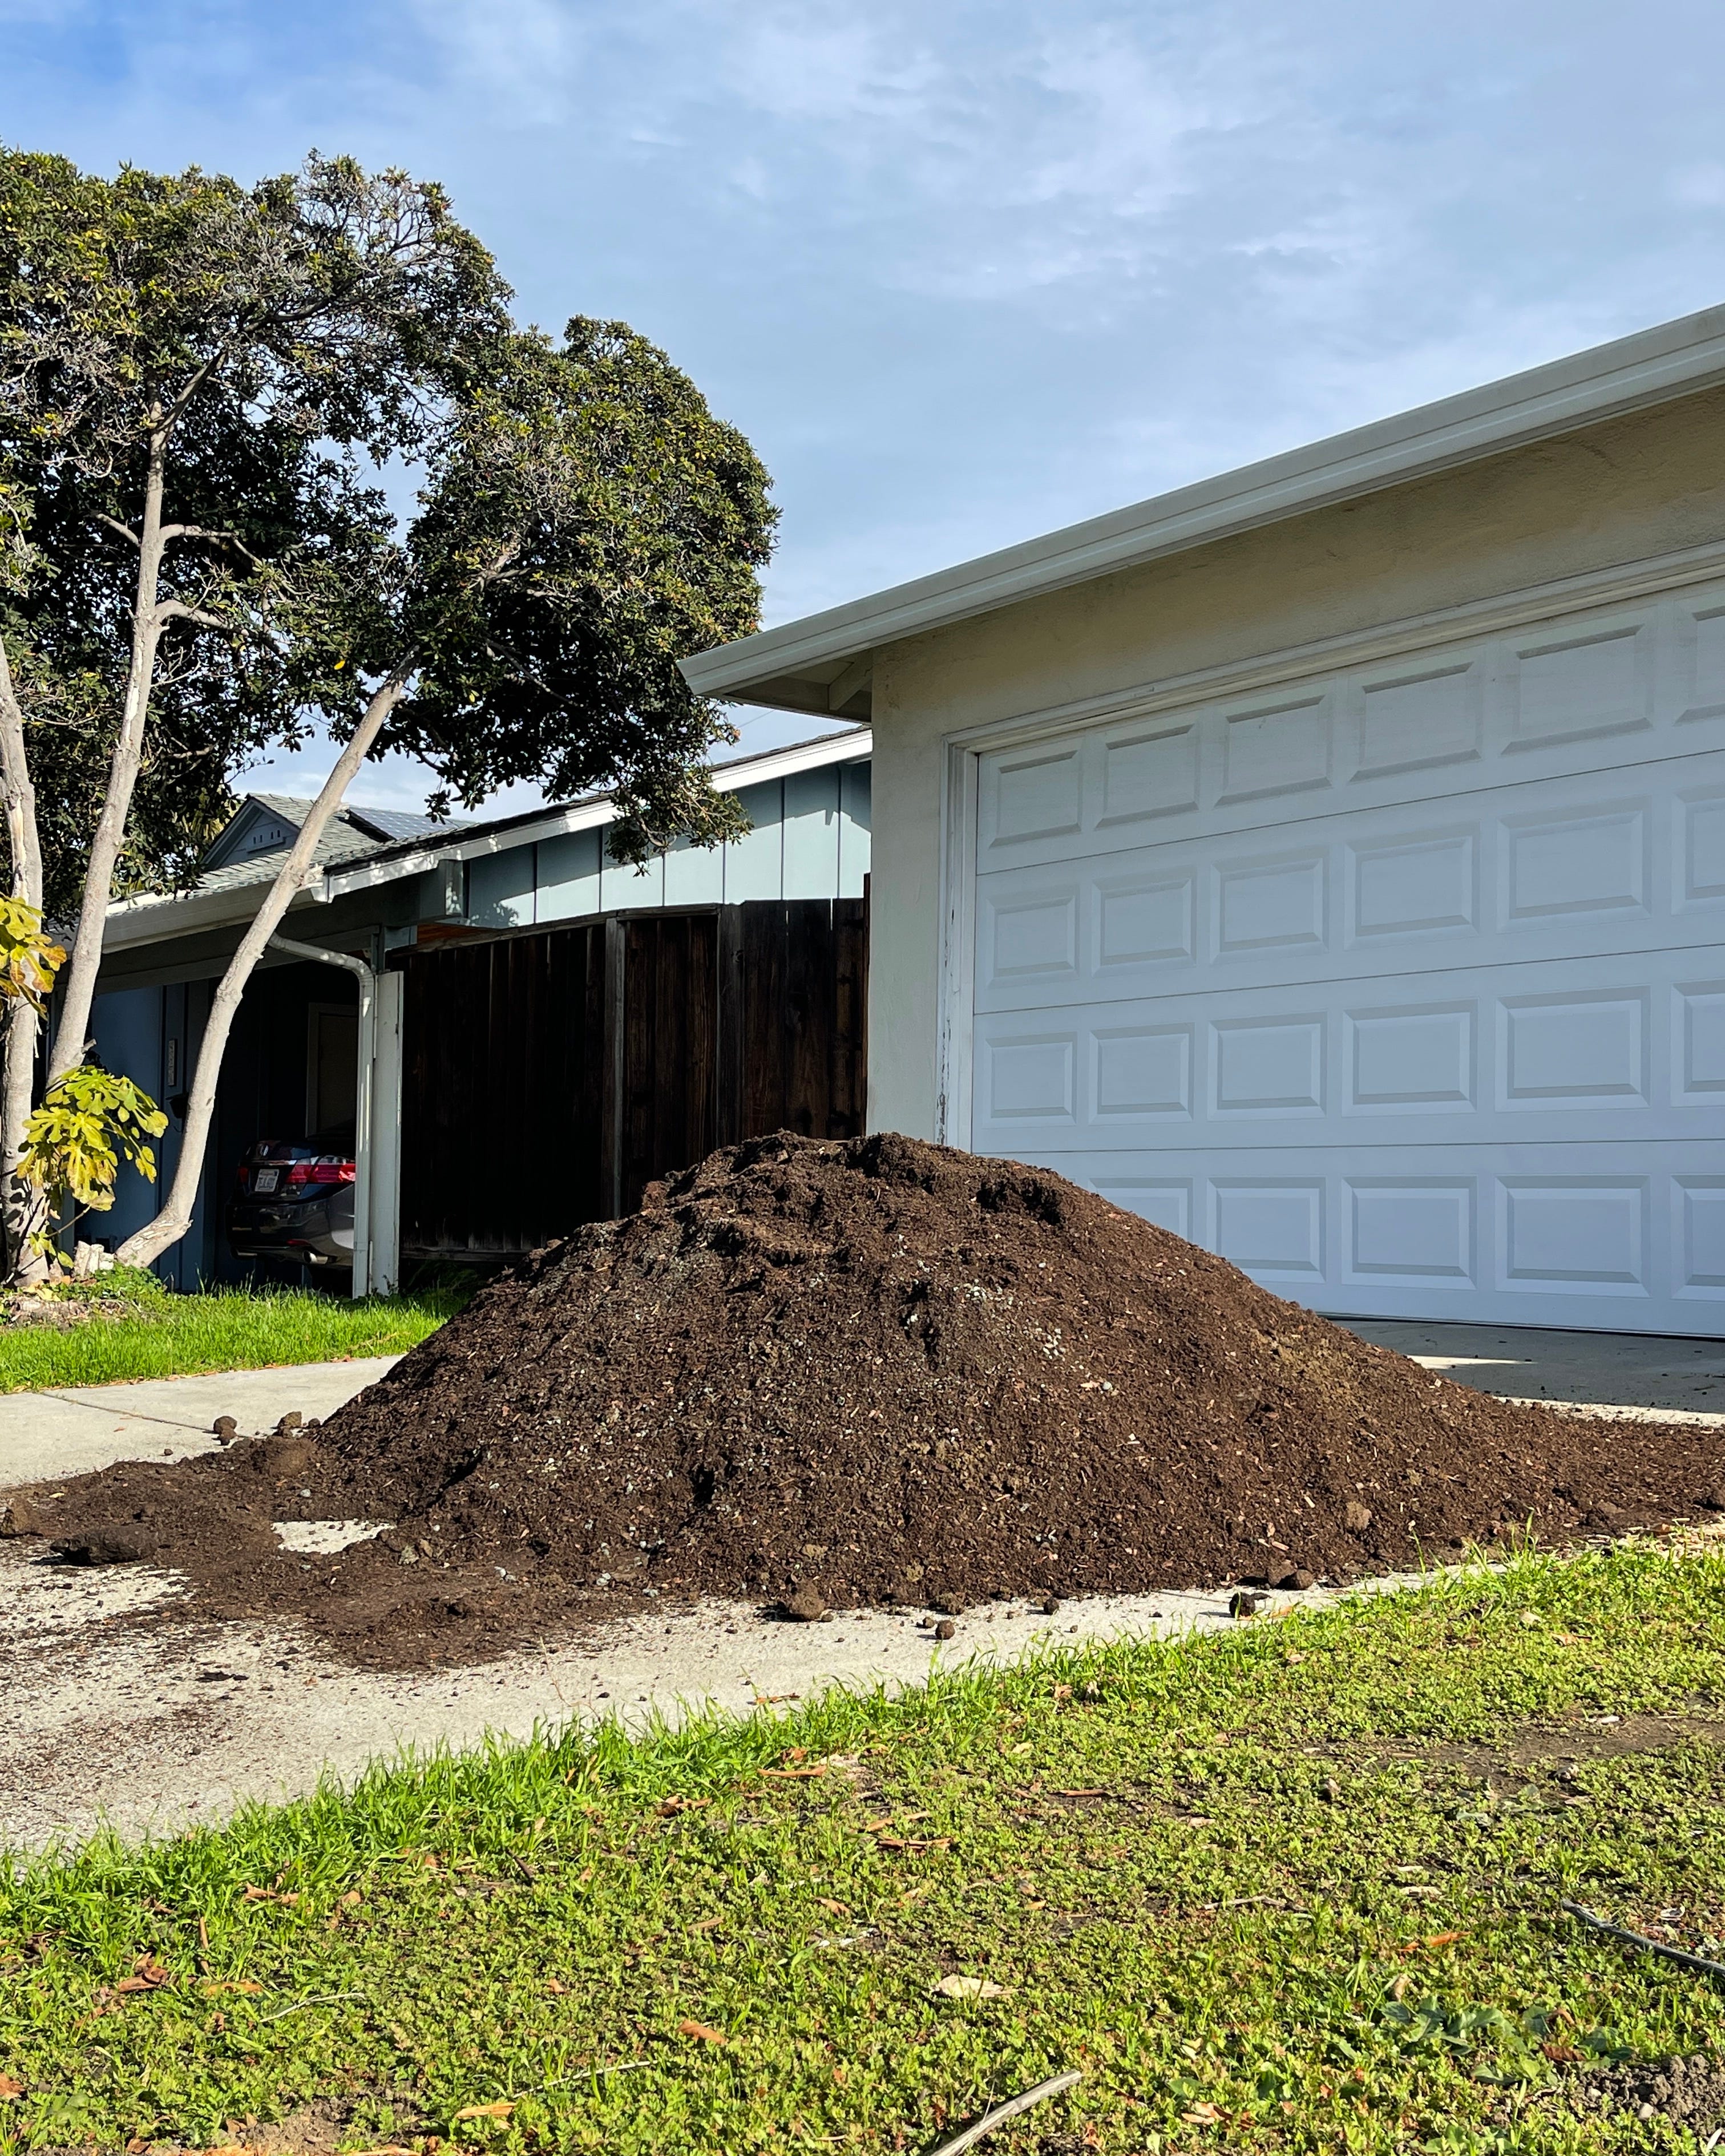
ChipDrop matches homeowners in need of mulch with arborists working nearby in need of somewhere to dump their wood chips. (You can also request logs.) The arborist may drop off as much as 20 cubic yards (maybe even more) so have a backup plan for how you’ll unload excess mulch if you find a mountain of it in your driveway. We’ve had several hundreds of dollars’ worth of high quality, very clean (i.e., it contains no plastic or other trash) mulch delivered through the service.
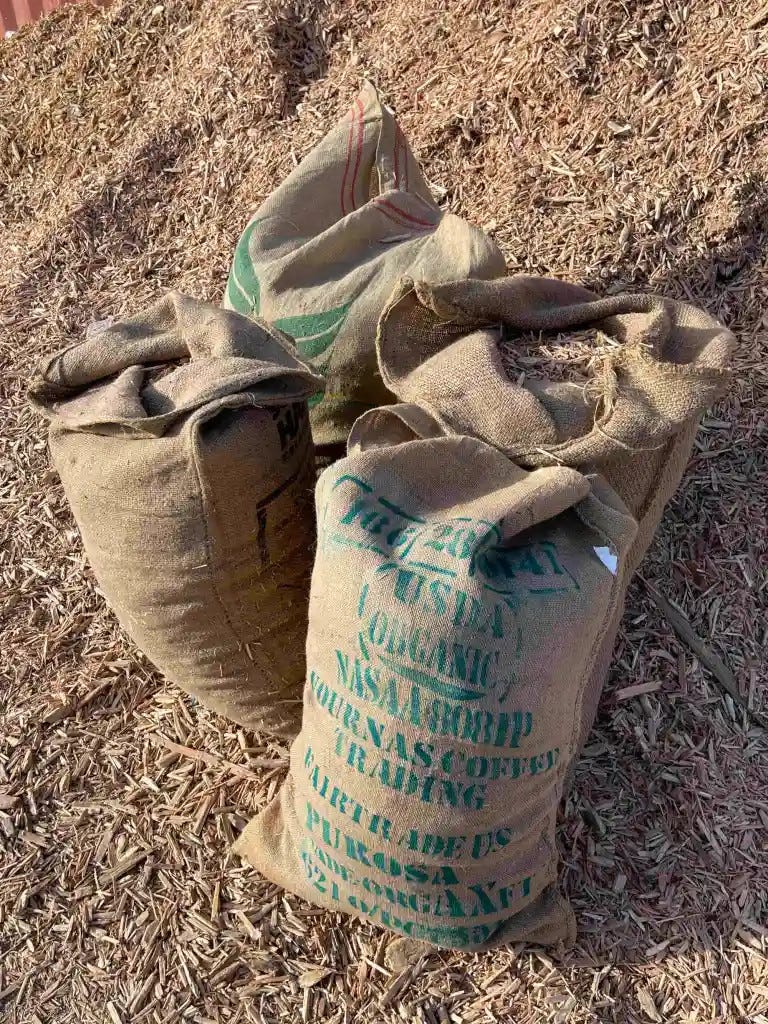
Your city may also offer free mulch. Ours provides free certified organic wood chips. When I started to transform our dead lawn to a native plant garden, we picked up many bags of this mulch from the city’s recycling station. To get the mulch home, we shoveled it into burlap sacks (also free, from a local coffee shop). Large bins would also work if you have them of course.
Our city also offers free compost at the recycling station. Yours may as well.
Make your own compost
If you have access to a space outdoors, consider making your own compost—you need only a small spot. Done properly, food scraps decomposing in a compost pile emit no smell and finished compost smells wonderful—earthy, rich and full of possibility.
If you don’t have access to a space outdoors for composting, you may want to try vermicomposting indoors to generate free, nutrient-rich worm castings (i.e., worm poop). This soil amendment costs about three times that of compost—but you can make it at home for free! Essentially, in a convenient location, you’ll store a bin filled with red worms that you’ll feed food scraps to, with a few exceptions such as excessive citrus peels. In exchange, the worms will produce black gold.
You can buy bins or build them. The DIY bin in this helpful tutorial is plastic but to make it, you’ll reuse materials that would otherwise end up in trash or recycling.
Leave the leaves
Every time we put a bag of raked leaves out at the curb only to then buy mulch, a marketer gets their wings. Leaf litter provides crucial habitat for overwintering insects. Removing it decreases the number of moths and butterflies by 45 percent, beetles by 24 percent and spiders by as much as 67 percent. When the leaves break down, they return much-needed nutrients to the soil. If you want to leave the leaves strewn about your yard, rake them into garden beds.
Suppress grass or weeds with cardboard
Plastic weed barrier sheds microplastic, causes water to run off, can leach plasticizers like bisphenols and phthalates and damages the soil. Once you realize all of this and try to remove the stubborn stuff, you have your work cut out.
Whether you’d like to shrink your lawn to grow native plants or summer vegetables, cardboard sheet mulching will smother the grass (and weeds), but unlike plastic, cardboard will break down, adding to the soil rather than compromising it. And it costs nothing. If you don’t order much online, ask your friends and neighbors for their cardboard or raid a nearby recycling bin. Choose plain brown cardboard, uncoated (coating = plastic), and remove labels and packaging tape.
Once you have amassed your cardboard, trim the vegetation back that you want to eliminate, cover it with the cardboard and top that with mulch. Or make a lasagna with a few layers: cardboard followed by compost, topped with wood chips.
In 2022, we sheet mulched sections of our yard with cardboard. It disappeared quickly—in less than six months—and controlled the weeds well. Three years later, weeds do pop up but nothing like the way they used to. One wet year before the mulching began, when thick weeds carpeted our yard, the city sent us a warning to remove them! To keep weeds at bay today, I spread fresh wood chips when needed. And as my ground cover plants spread, they suppress weeds as well.


Ask for plants in paper pots or return plastic pots for reuse
Some nurseries will accept back pots to reuse. Others, when asked, will tell you they will recycle them for you (i.e., they will put them in a recycling bin and we all hope for the best). Home Depot returns customers’ plastic pots to the grower who determines if the pots can be reused or not. If too damaged to reuse, the pots will go to a recycling partner. Ideally, Home Depot would carry plants in paper pots but these cost more and have a shorter shelf life than plastic pots—thus cutting into corporate profits.
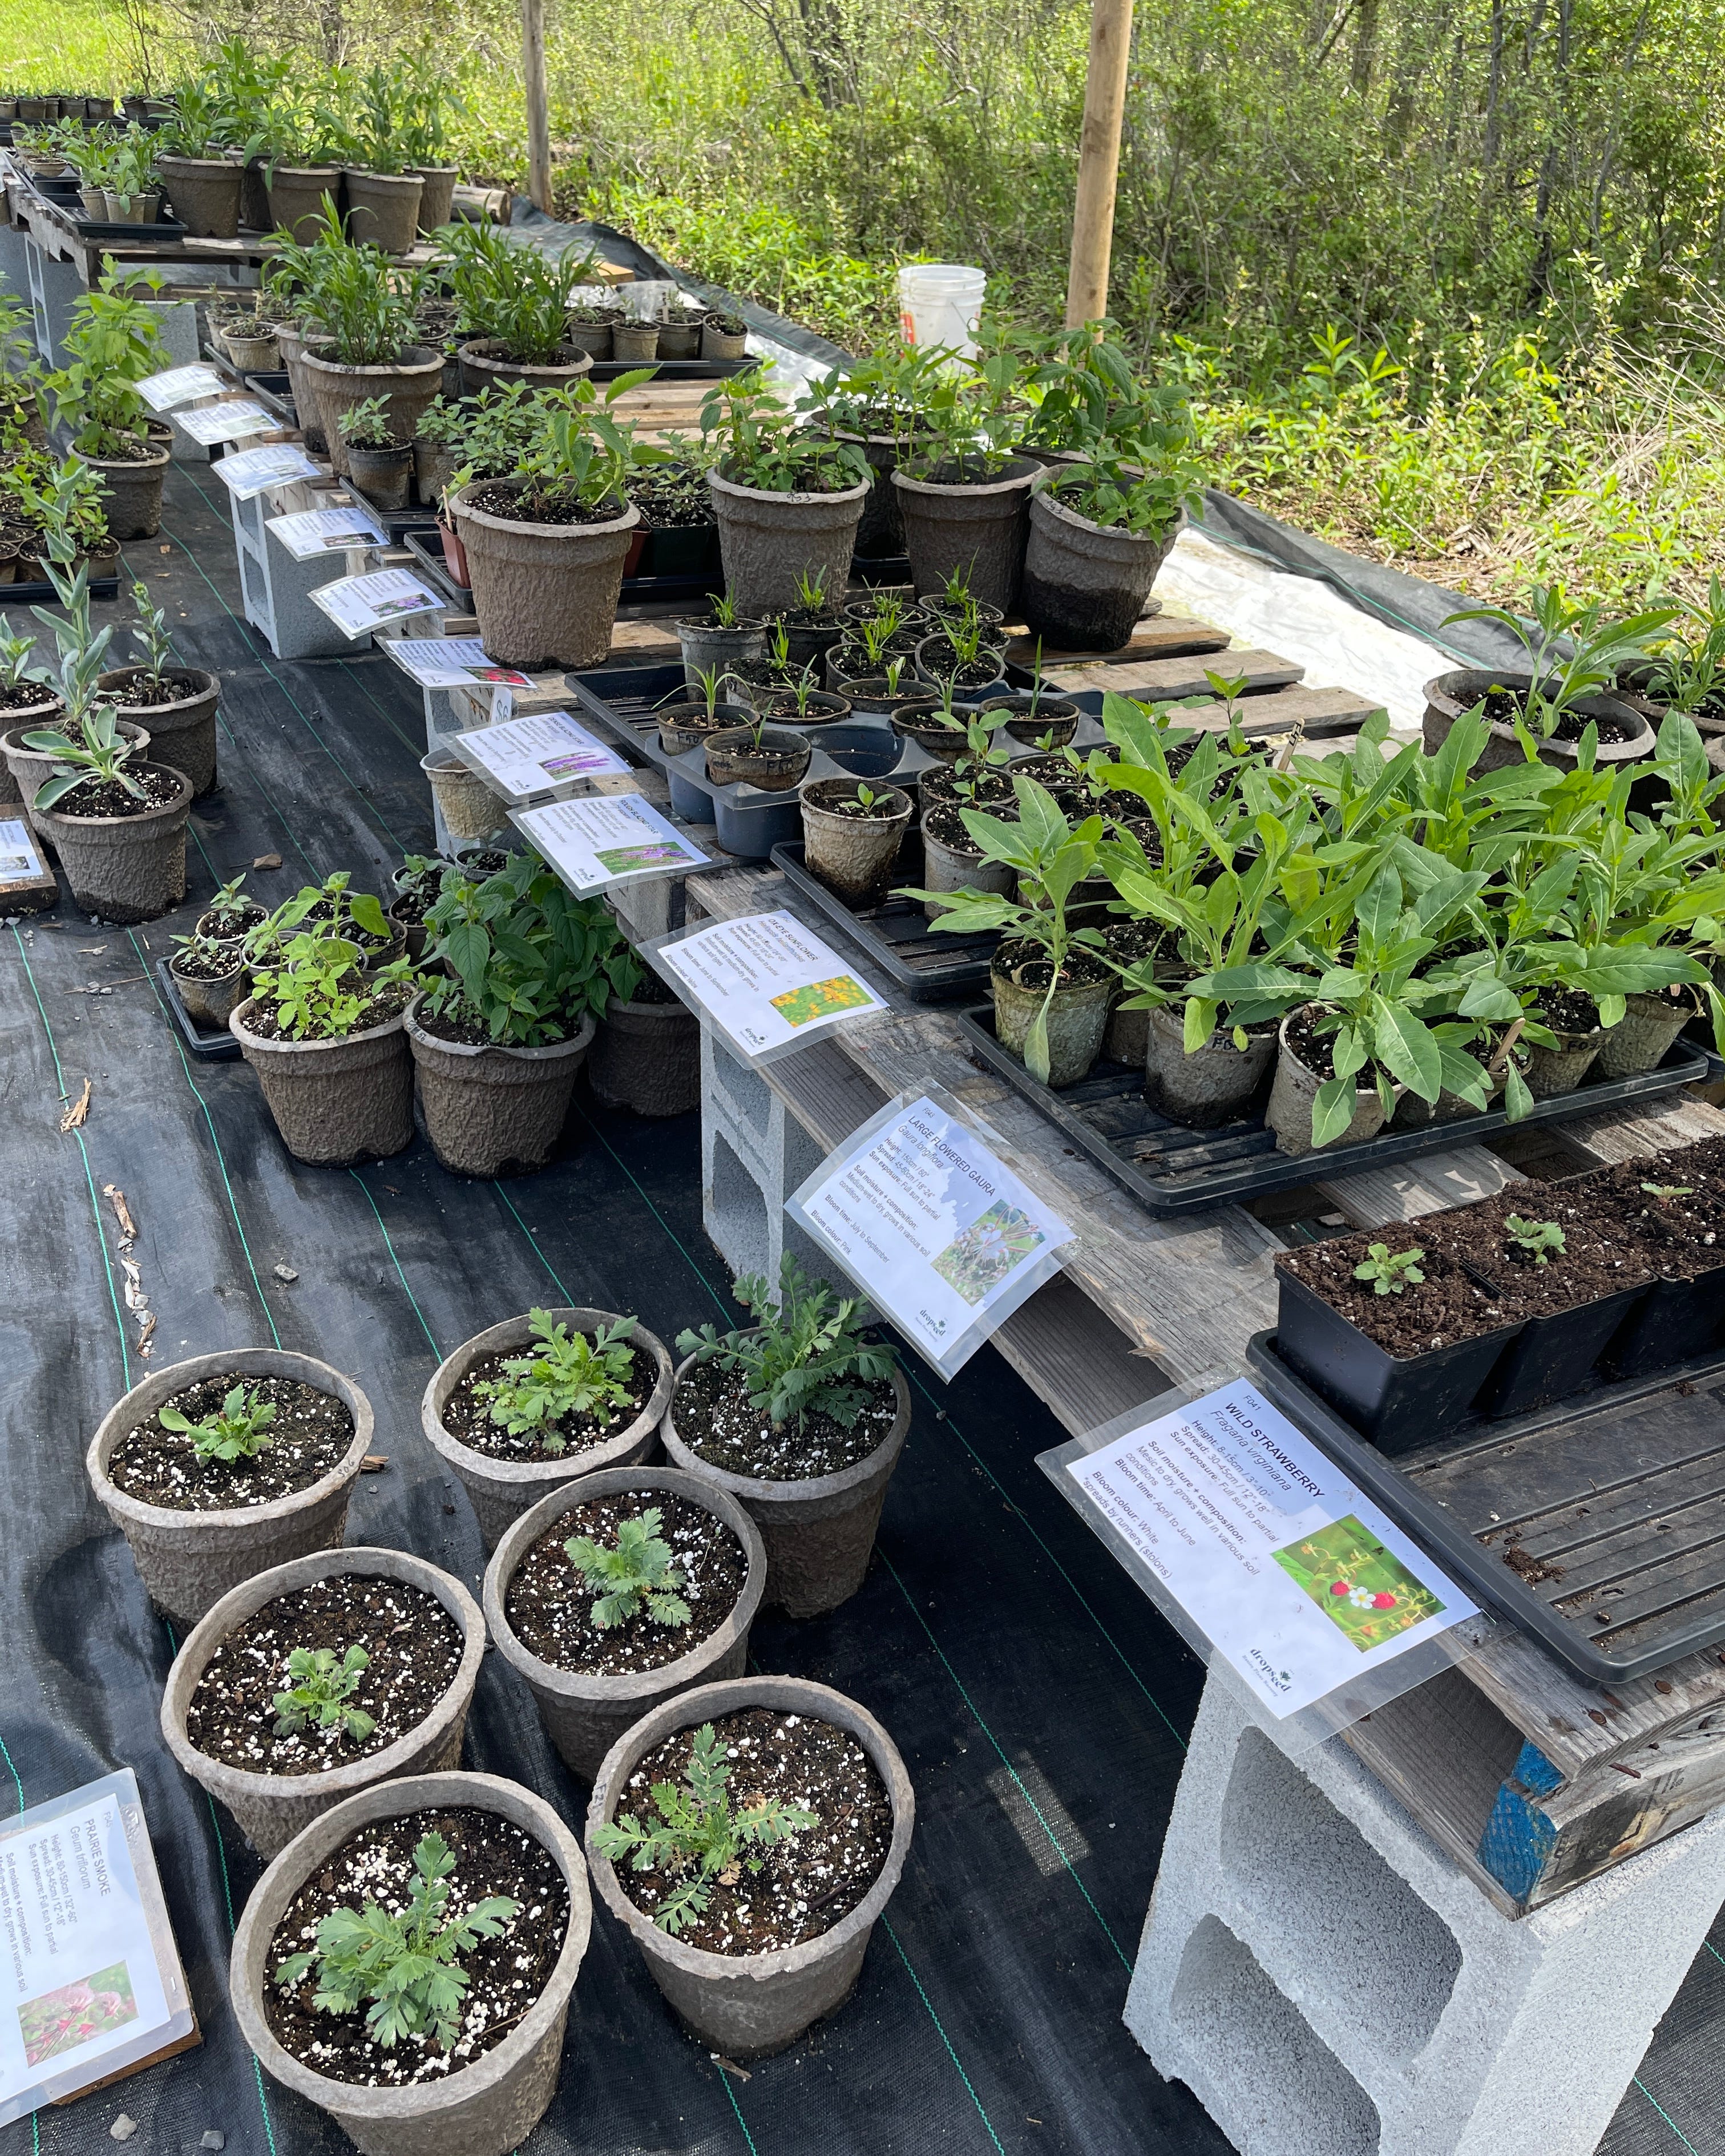
Small businesses—they need our support—are more likely to both listen to their customers and sell their plants in paper pots. While visiting my family earlier this year in Ontario, Canada, I found a wonderful native nursery in Prince Edward County that sells most of its plants in paper pots. They also accept back the plastic pots in which they sell a small number of their plants.
Choose plastic-free containers
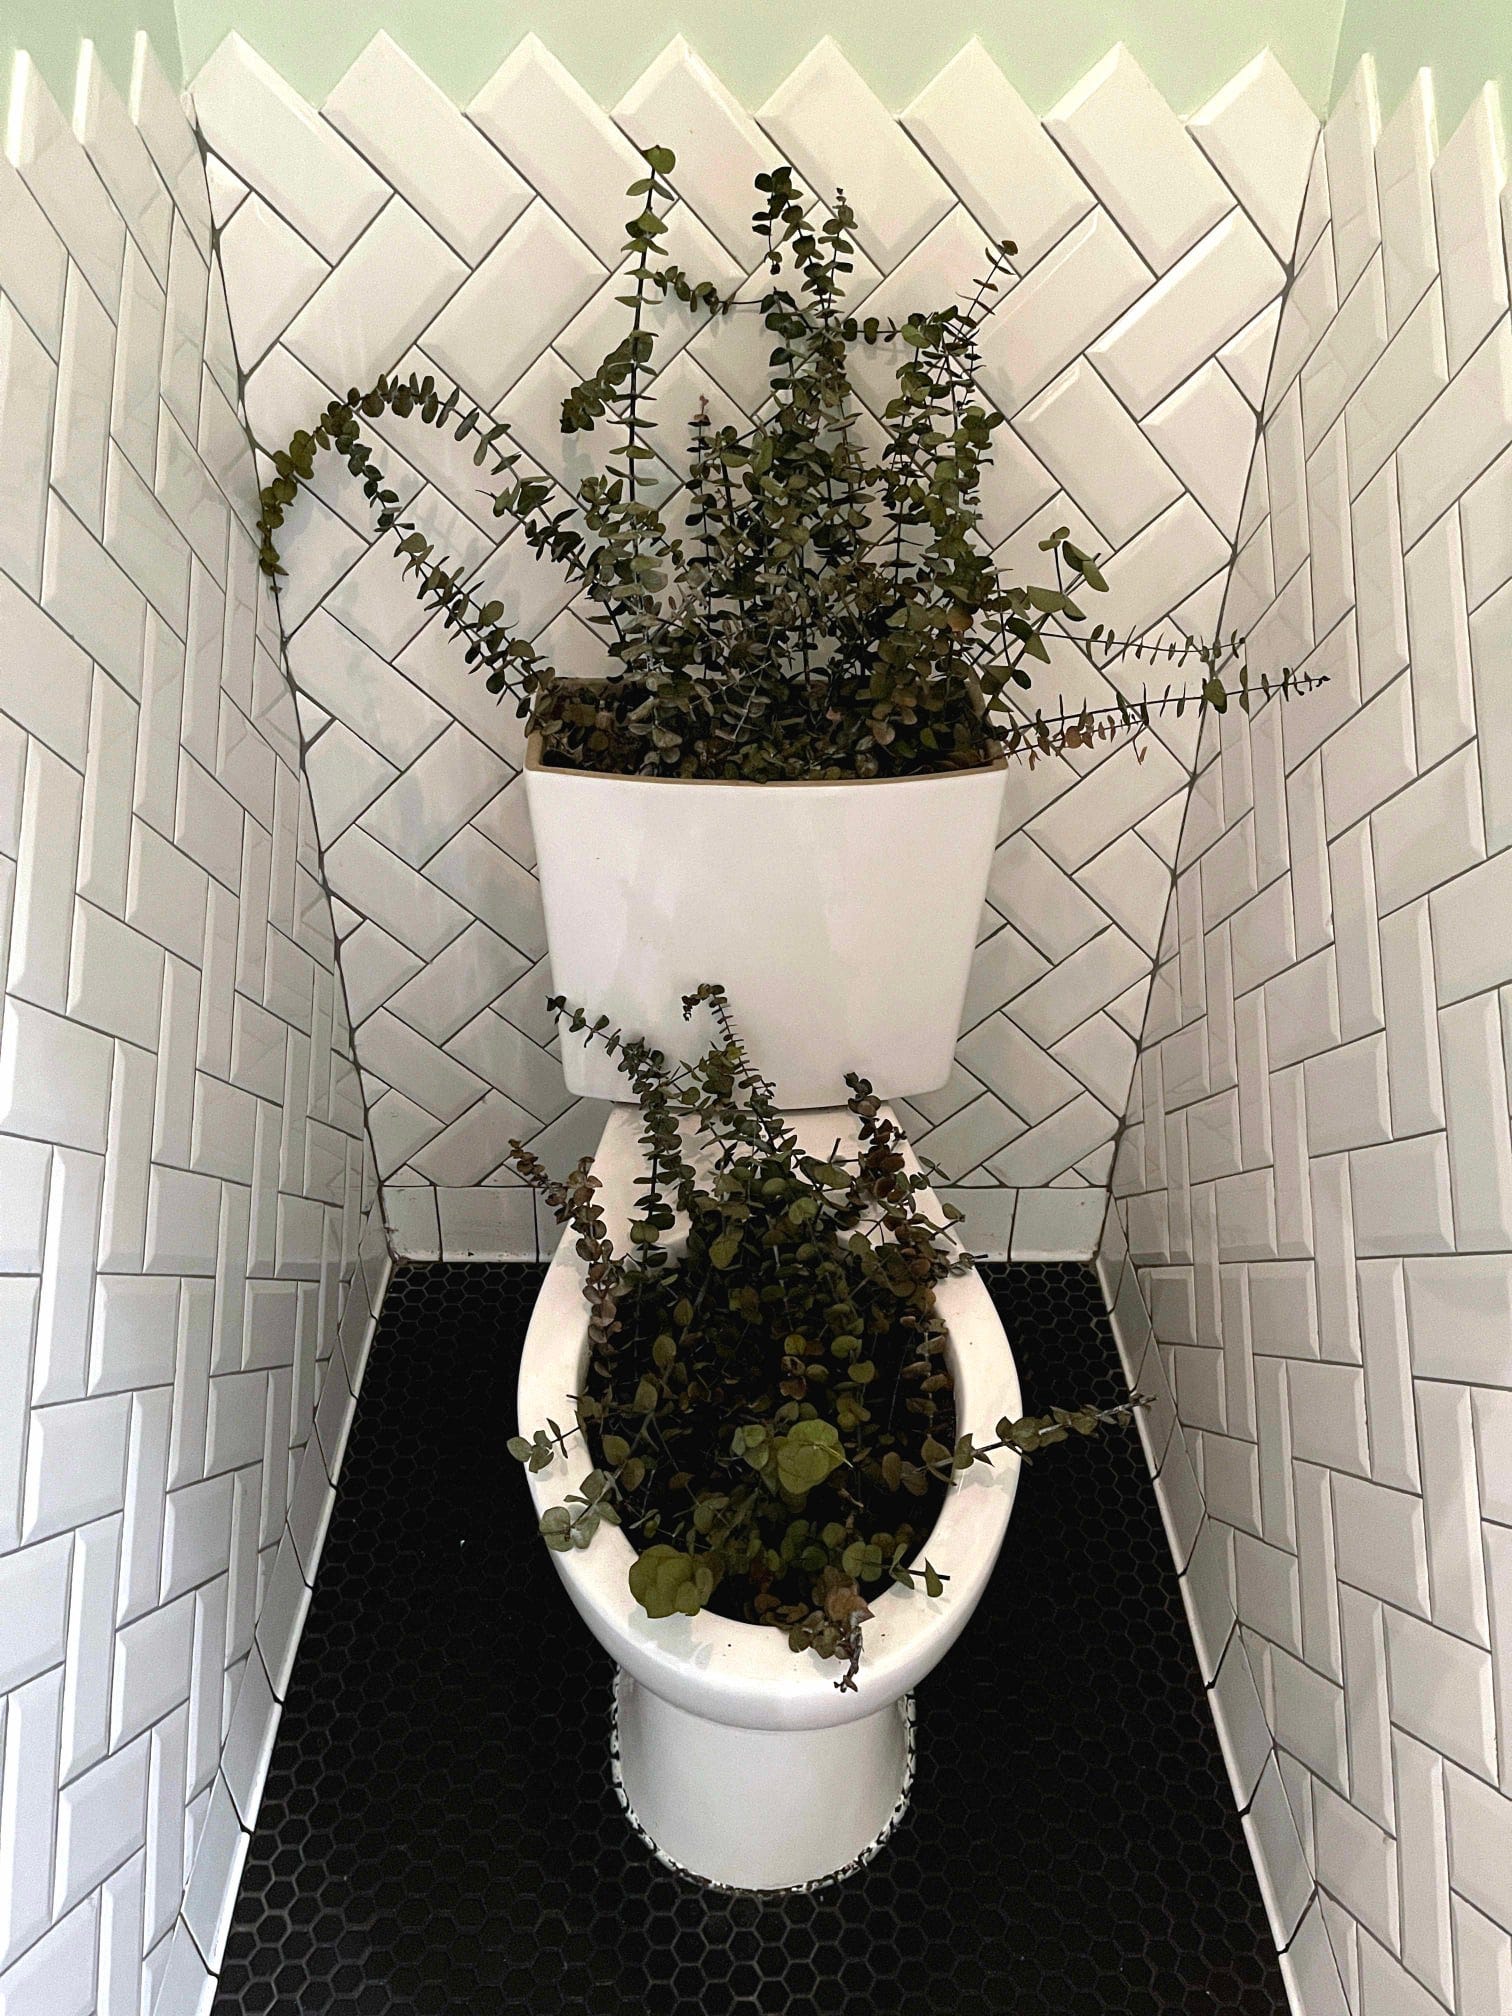
You have many to choose from: Terra cotta, wooden crates, wine barrel planters, canvas or denim grow bags, burlap sacks transformed into planters. I’ve seen people online growing plants in old wooden drawers! I’ll probably never put a toilet my backyard let alone the front but its generous size would accommodate two large plants—one in the bowl and one in the tank. Use your imagination to upcycle!
Make paper pots to start seeds
Skip the flimsy plastic seed starting trays and make your own “pots.”
When I lived in Canada, because of the short growing season, I started plants indoors. To make small pots, I cut and wrapped wide strips of newspaper around a small jar several times, smushed the paper flat at the bottom, removed the new pot, filled it with soil and planted my seeds. It worked well, cost nothing and the paper broke down in the soil. You could also glue the paper together with homemade, compostable wheat paste.
Choose plastic-free protection
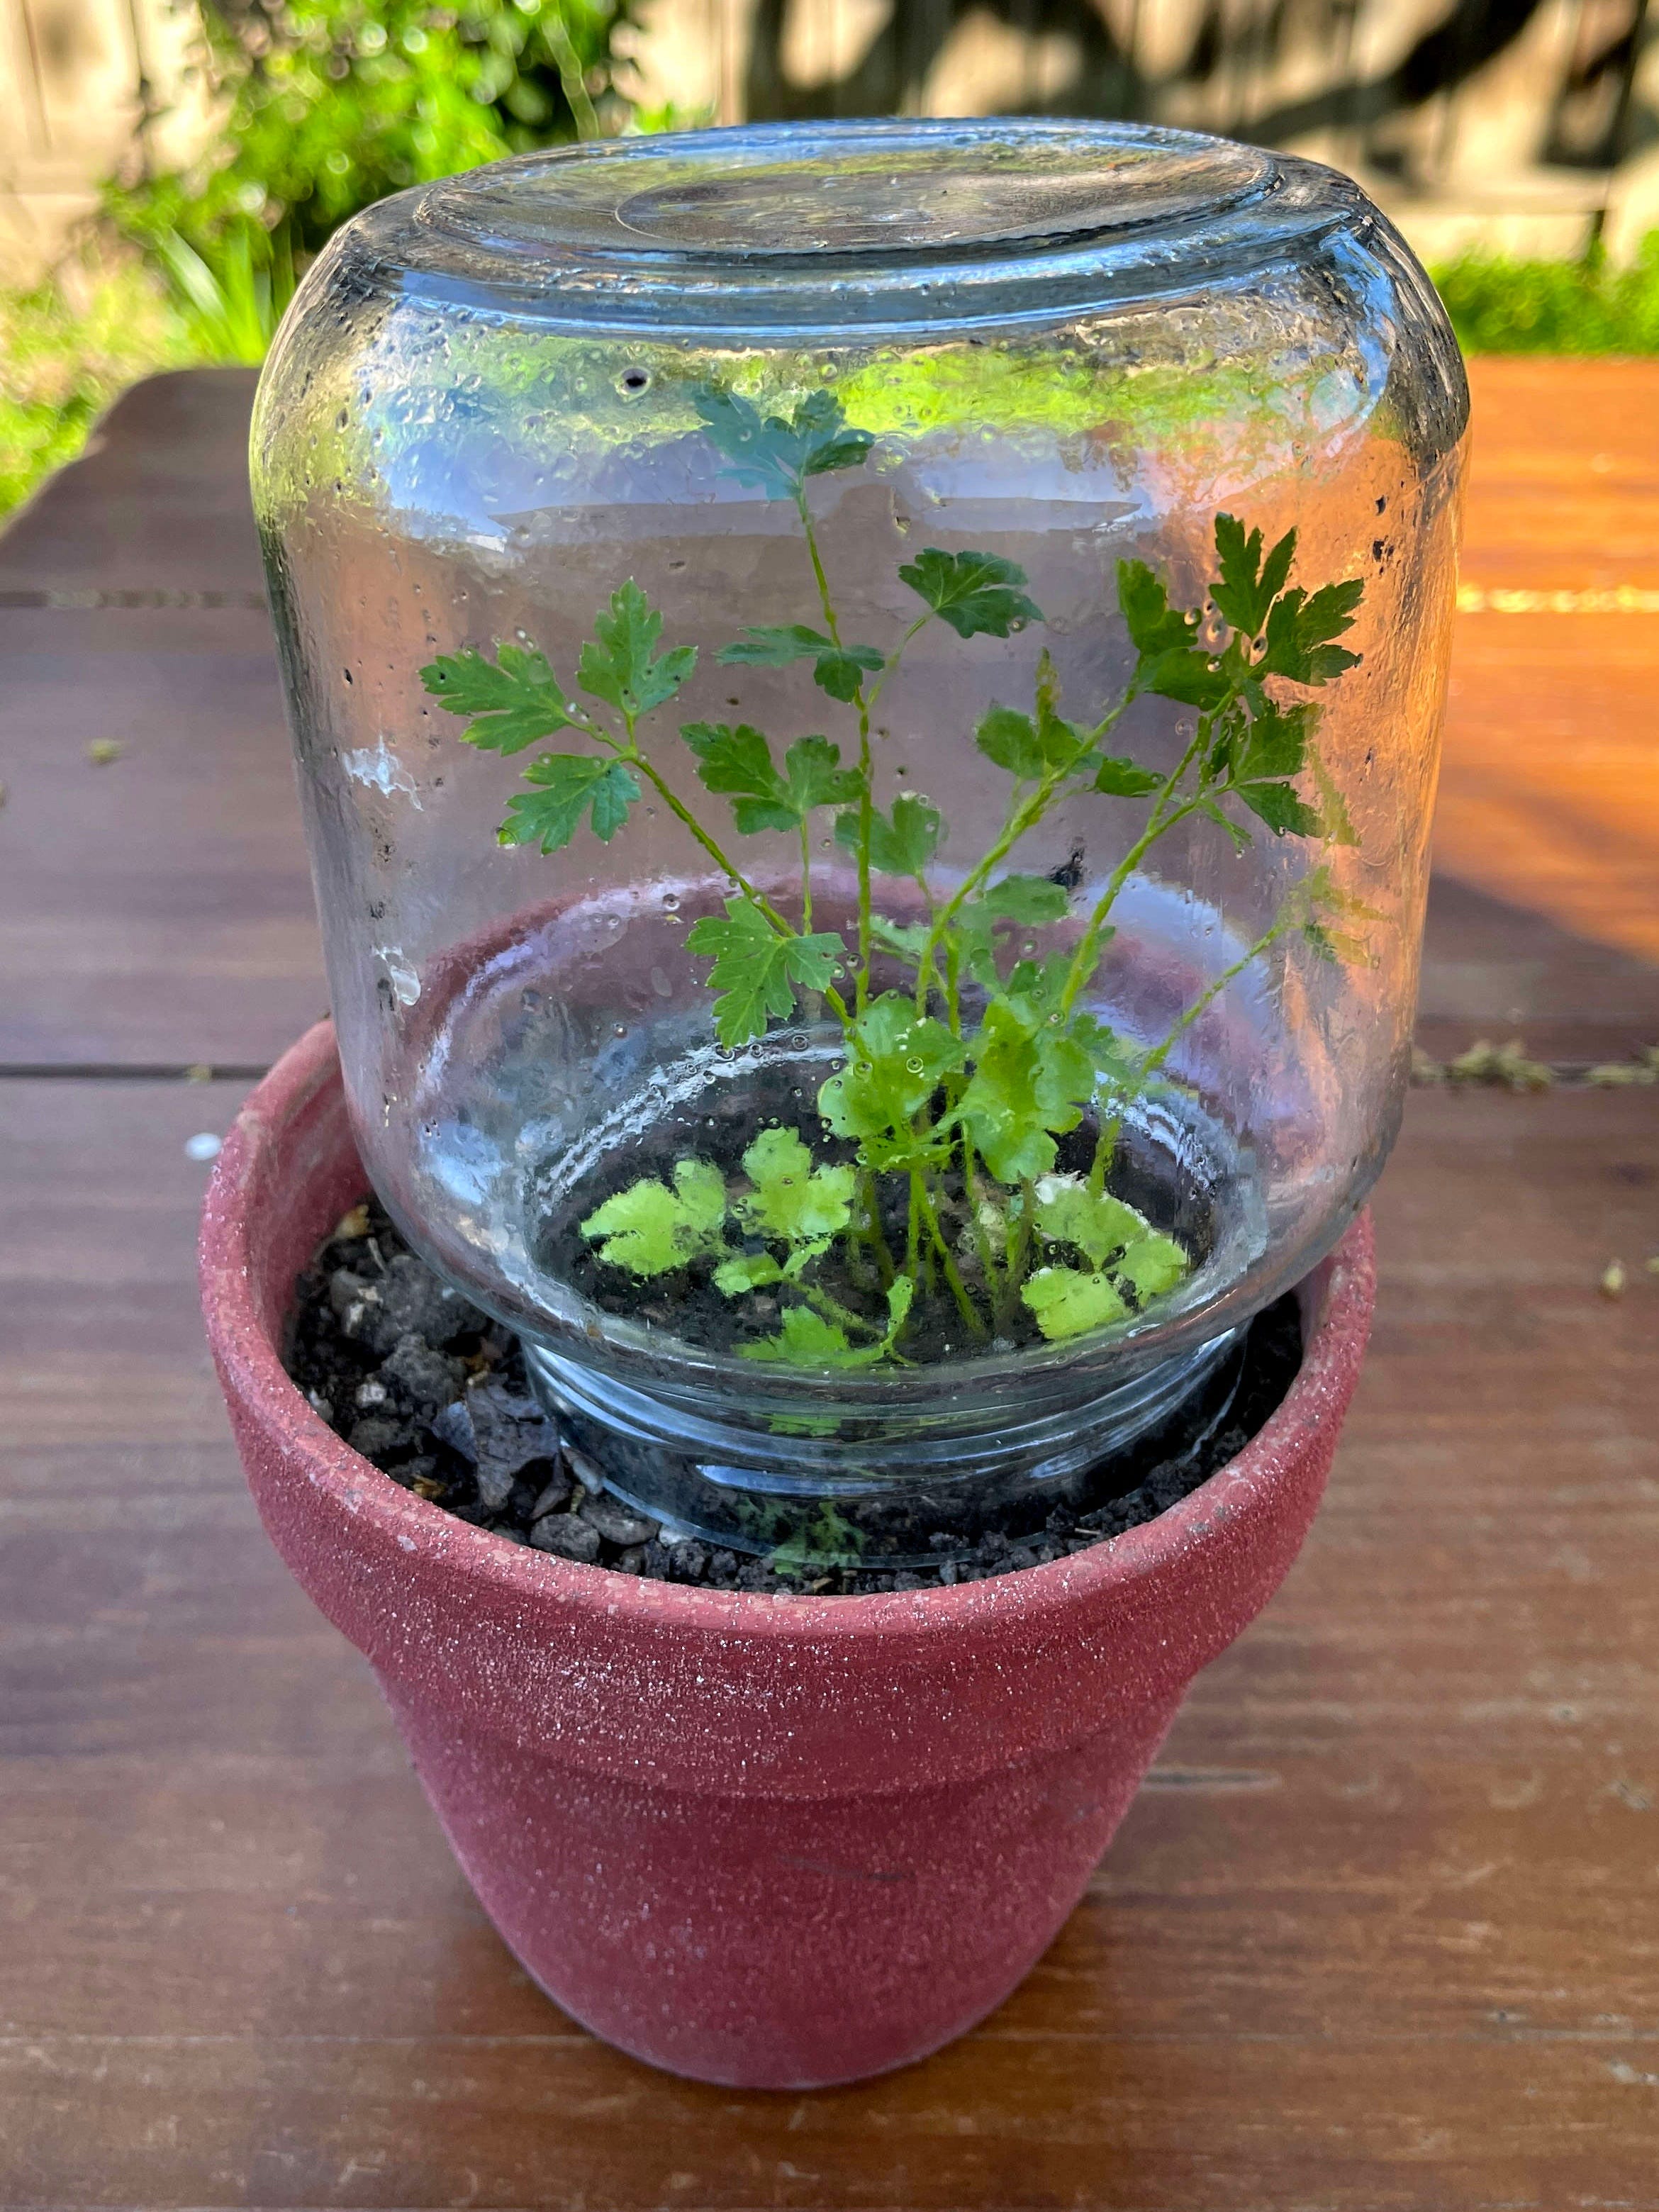
A bell-shaped cloche placed over your young plants serves as a miniature hothouse. Cloches also protect your seedlings from snails or rabbits or anything else that will mow them down. Plastic cloches don’t cost very much; glass cloches do. Jars, although less aesthetically pleasing than glass cloches, cost nothing and can serve the same function. Remove the jars during the day so your plants don’t bake in the sun.
Make your own plant labels
I can almost guarantee you have something lying around your home to fashion into plant labels. Old Bamboo toothbrushes, liberated of their bristles, make good plant markers.
Get comfy in the garden
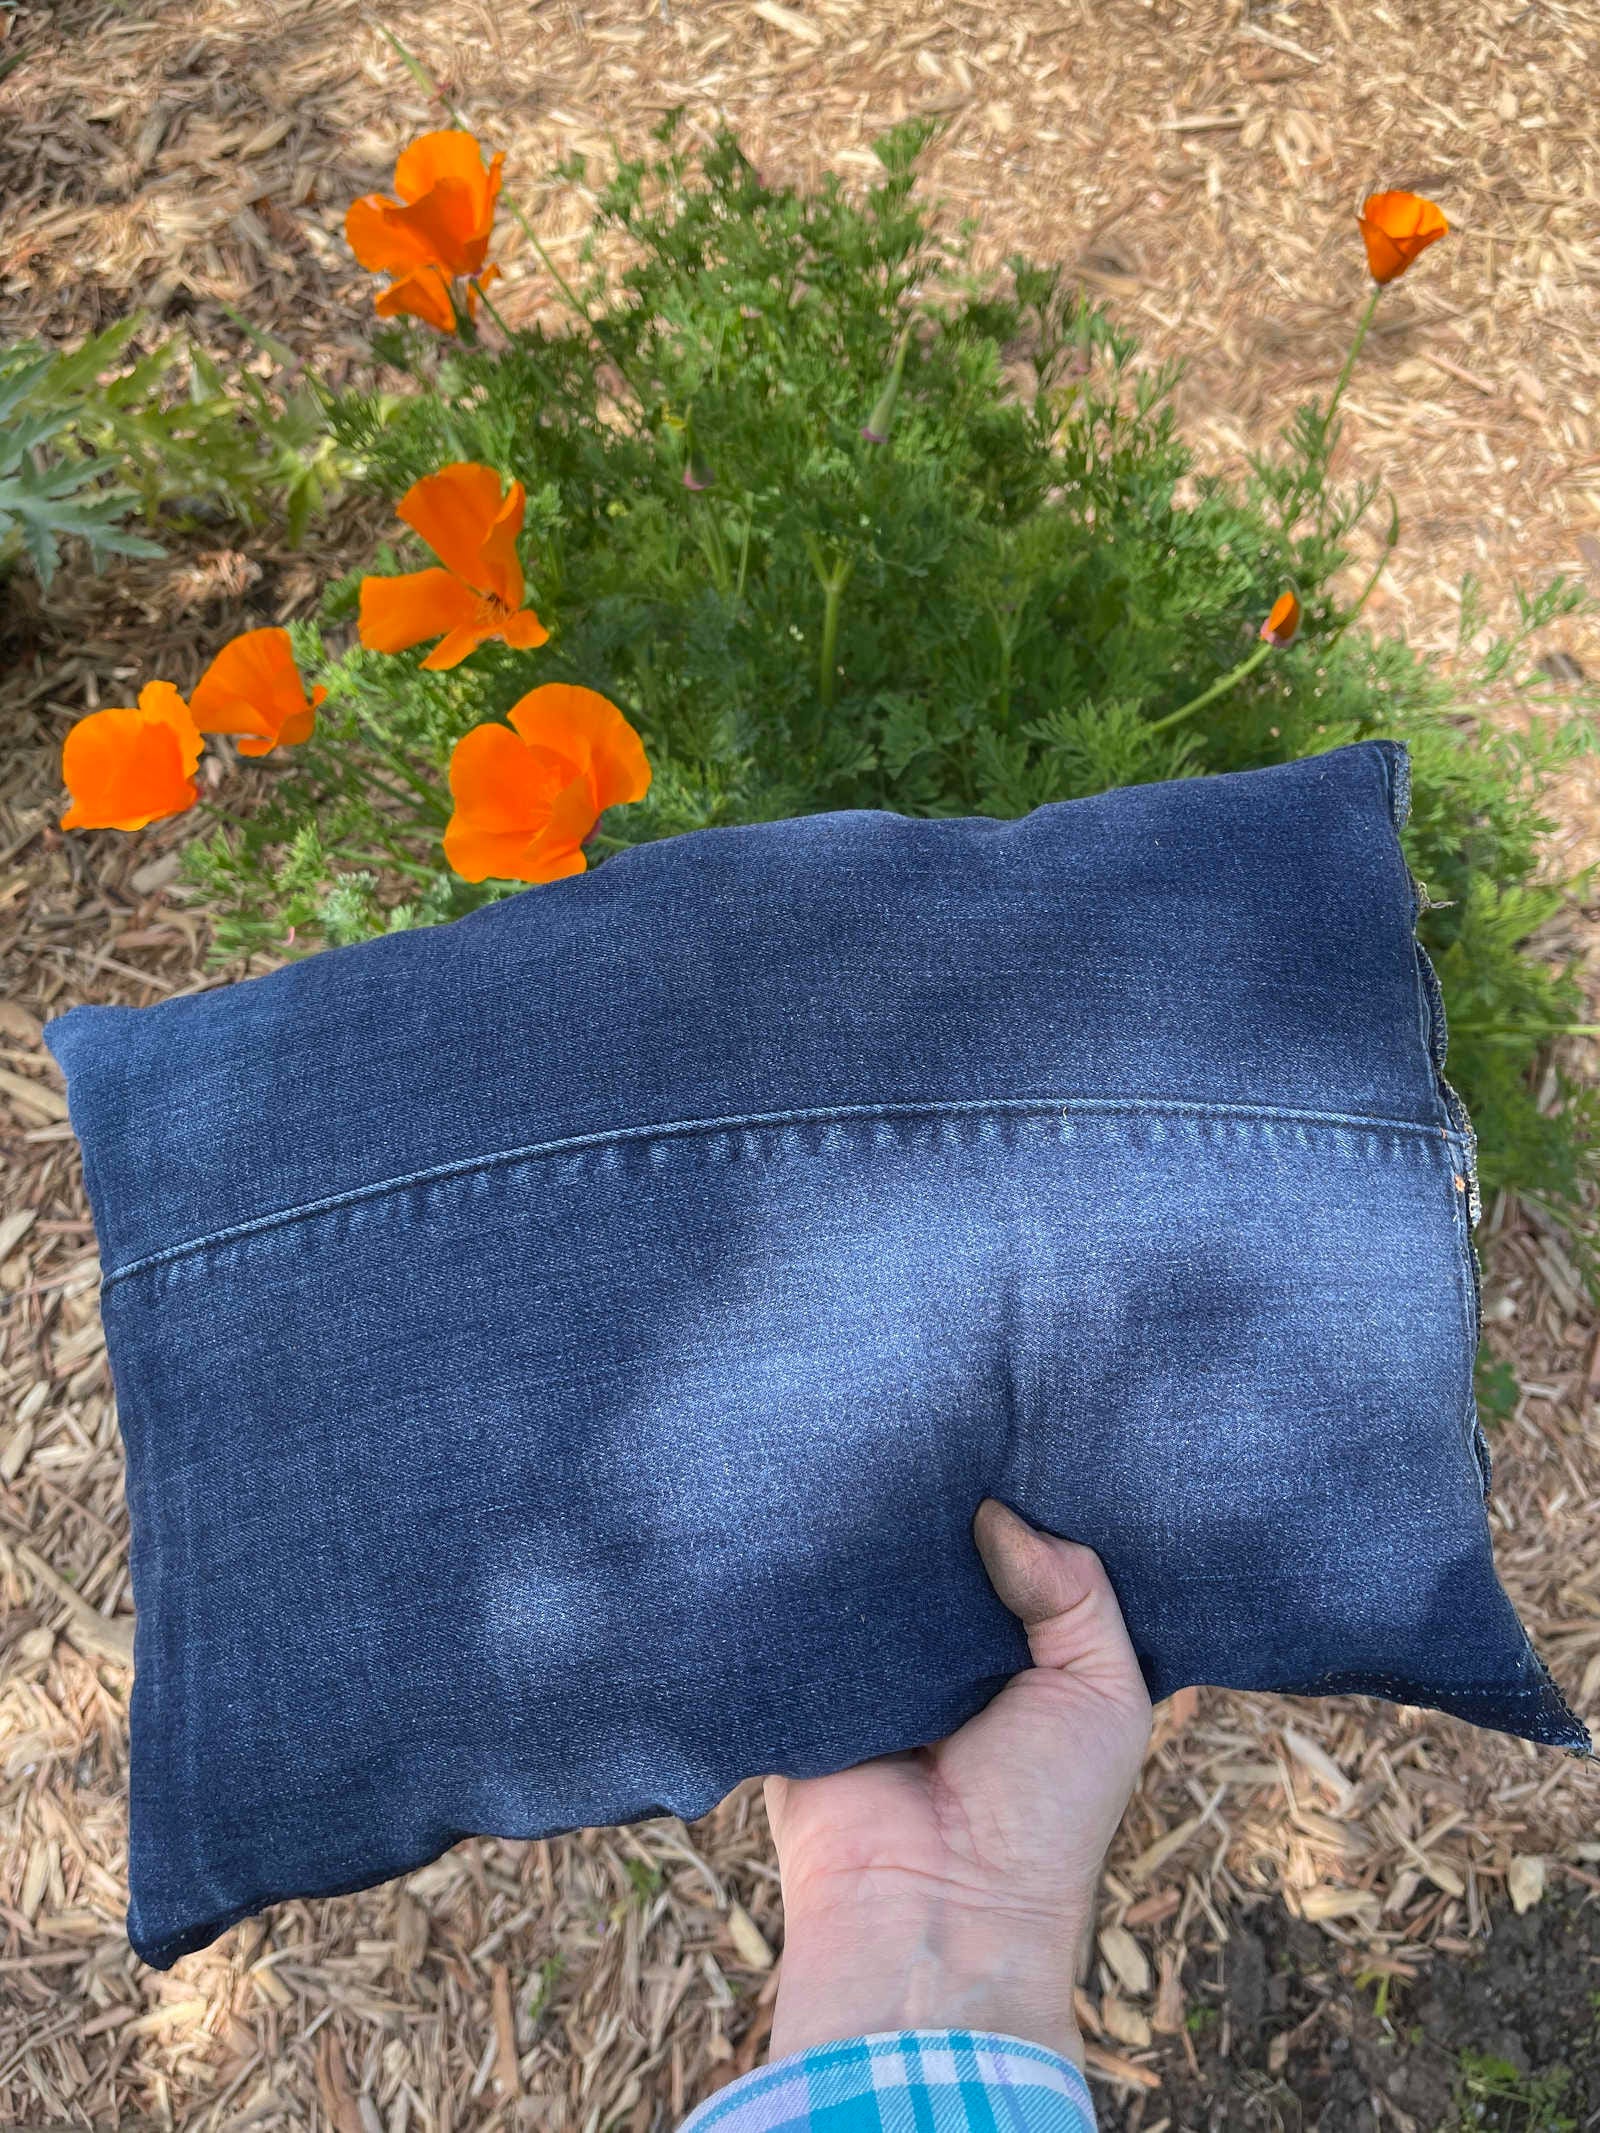
Most foam kneeling cushions are made of EVA (ethylene-vinyl acetate). Others are made of memory foam, aka polyurethane, another type of plastic. I made myself a kneeling cushion out of denim, stuffed with fabric scraps, for $0. Some of those scraps are likely synthetic but at least they went into my cushion instead of the landfill. (Go here for the sewing instructions.)
Buy fewer tools
Tools aren’t made of single-use plastic but their packages often are and you may only need certain tools occasionally. If you live in a city with a library of things or tool lending library, take advantage of it. You might want to build raised beds, for example, but not own any of the tools you need. You can also score tools at thrift shops, yard sales and in your Buy Nothing group.
PS: Don’t worry about every little thing!
I’ve tried to provide you with a list of alternatives to ubiquitous garden center plastic, not give you an ulcer. Ideally, we would all use what we have first, including plastic, and as that plastic wears out, replace it with plastic-free alternatives.
Enjoy your time outside!
I've been trying to get rid of plastic in my small backyard garden too, but honestly, it’s tough. Most nurseries around me still hand out everything in plastic pots, wrapped in more plastic. I love the idea of paper pots and composting with worms (I might actually try the worm bin), but finding good bulk soil without a car? That’s been my main hurdle.
Also, I totally felt that bit about the plastic weed barrier. Whoever invented that stuff never had to pull it up after two seasons of roots tangling through it. Cardboard really is the way to go. I used moving boxes last fall and it's breaking down nicely under the mulch.
If enough neighbors did this kind of thing, like sharing mulch or pots, it could really shift the vibe. But it’s true,right now this all still takes more time and effort than most folks have.
Helpful, thank you.