Preserve the Harvest to Save Money and Extend the Season
No canning necessary unless you feel like it
Preserving a portion of the summer bounty saves money (produce prices often drop at the peak), prolongs the summer season (you can eat tomatoes in the dead of winter) and prevents food from going to waste (preserving food extends its shelf life).
This time of year, I freeze, dehydrate and ferment what’s in season—and often on sale—just before it goes out of season. I used to can, which is another option but I won’t cover that here. For loads of information on canning, check out the National Center for Home Food Preservation.
Freezing
You can freeze all kinds of produce and need minimal equipment to do so.
Blanching and freezing
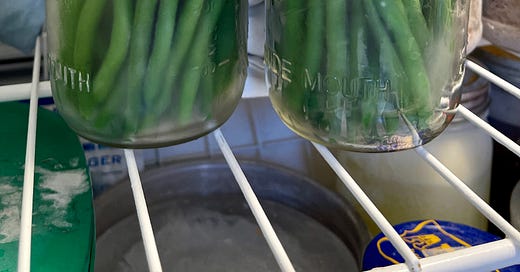
The process of blanching vegetables—scalding them quickly, followed immediately by submerging them in ice water to halt the cooking—inactivates enzymes that deteriorate produce. Blanched green beans, for example, remain bright green and crunchy after freezing.
To blanch and freeze those green beans to enjoy at Thanksgiving this fall, follow these simple instructions:
Bring a pot of water to a boil and fill a large bowl with water and ice.
Drop a large handful of beans into the boiling water. You want to blanch an amount small enough that the water can quickly return to a boil. Once it returns to a boil, set a timer. Cook the beans for 2 minutes if small, 3 if medium and 4 if large.
Remove the beans immediately with the mesh skimmer and submerge them in the bowl of water and ice. Allow the beans to completely cool, about 5 minutes. Place them on a clean dishtowel and pat off any excess water.
Arrange the beans on a baking sheet in a single layer and freeze them for 1 to 2 hours. Once frozen on the baking sheet, transfer the beans to jars or other containers and return them to the freezer. They will keep for about 8 months.
That’s all there is to it but if you want a bit more info, go here for a blog post on blanching and freezing green beans.
Other seasonal produce suitable for blanching and freezing includes broccoli, cauliflower and carrots. Cut the broccoli and cauliflower into florets and carrots into sticks before blanching. Cauliflower and carrots will require an extra minute or two to blanch. To test for blanched-ness of vegetables, submerge a test piece in the ice water bath and take a bite. It should snap but not have the same hard crunch of its raw counterpart.
Freezing fresh produce
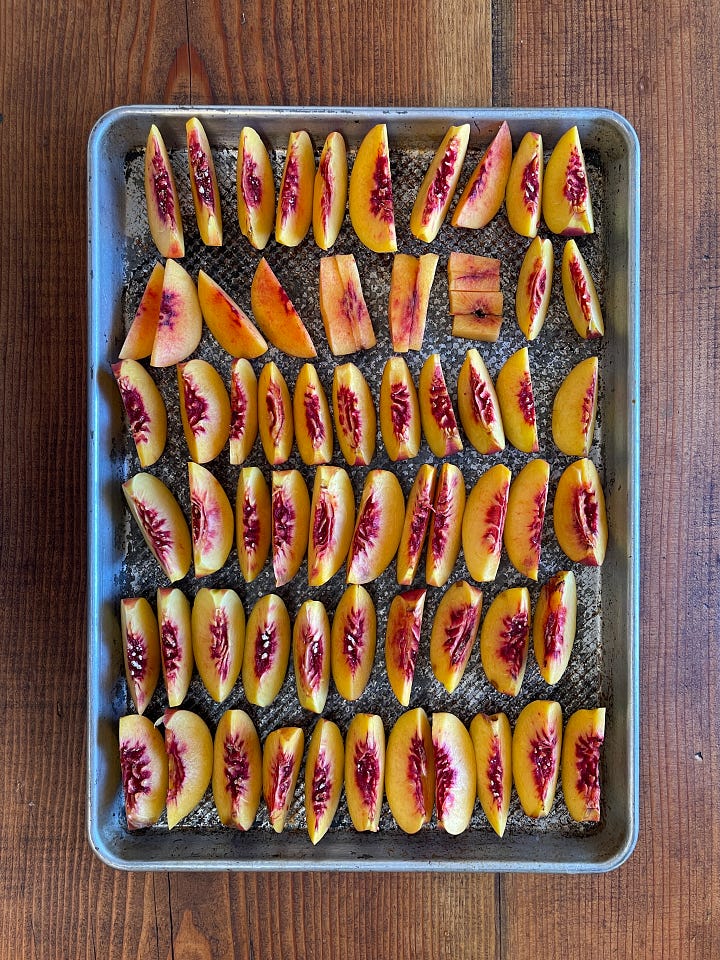
Strawberries, stone fruit and bell peppers all freeze well. After washing produce, slice very large berries in half, cut stone fruit into wedges, core bell peppers and cut into strips. Spread on cookie sheets, put these in the freezer and once frozen, transfer to containers for the long haul.
By first spreading the prepped produce out on a cookie sheet to freeze, you end up with individually frozen pieces rather than giant frozen clumps.
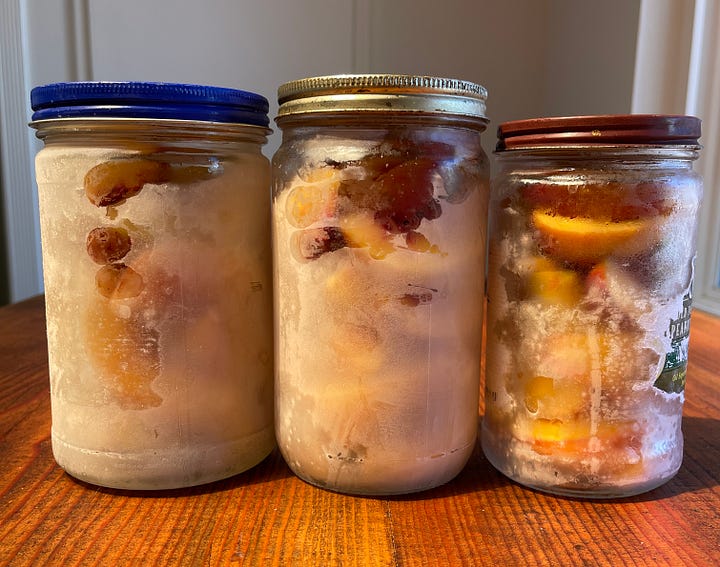
Cooking and freezing
Later this month, when the prices plummet, I’ll buy a few 20-pound cases of Early Girl tomatoes to process and stash away to eat in the winter. (I don’t buy all the cases at once, but rather, stagger the work.) I cook these a few different ways before freezing:
Roast. Cut into wedges, add smashed garlic cloves if desired and roast at about 250°F for two to three hours until soft. Cool to room temperature and freeze. Go here for more details.
Make tomato purée. You can use this as a base for tomato sauce, pizza sauce and other tomato-based dishes. First, I cook tomato wedges down in a slow cooker overnight. After their stint in the slow cooker, I run them through a food mill and finish cooking them down in a pot for sauce. Go here for the full recipe.
Make tomato paste. This tastes amazing. Essentially, you slow cook tomato sauce down to tomato paste in the oven at a low temperature. Go here for the recipe. (The recipe doesn’t mention freezing but tomato paste freezes well.) You could also make the tomato purée mentioned above, cook that down and freeze it in small batches.
Dehydrating
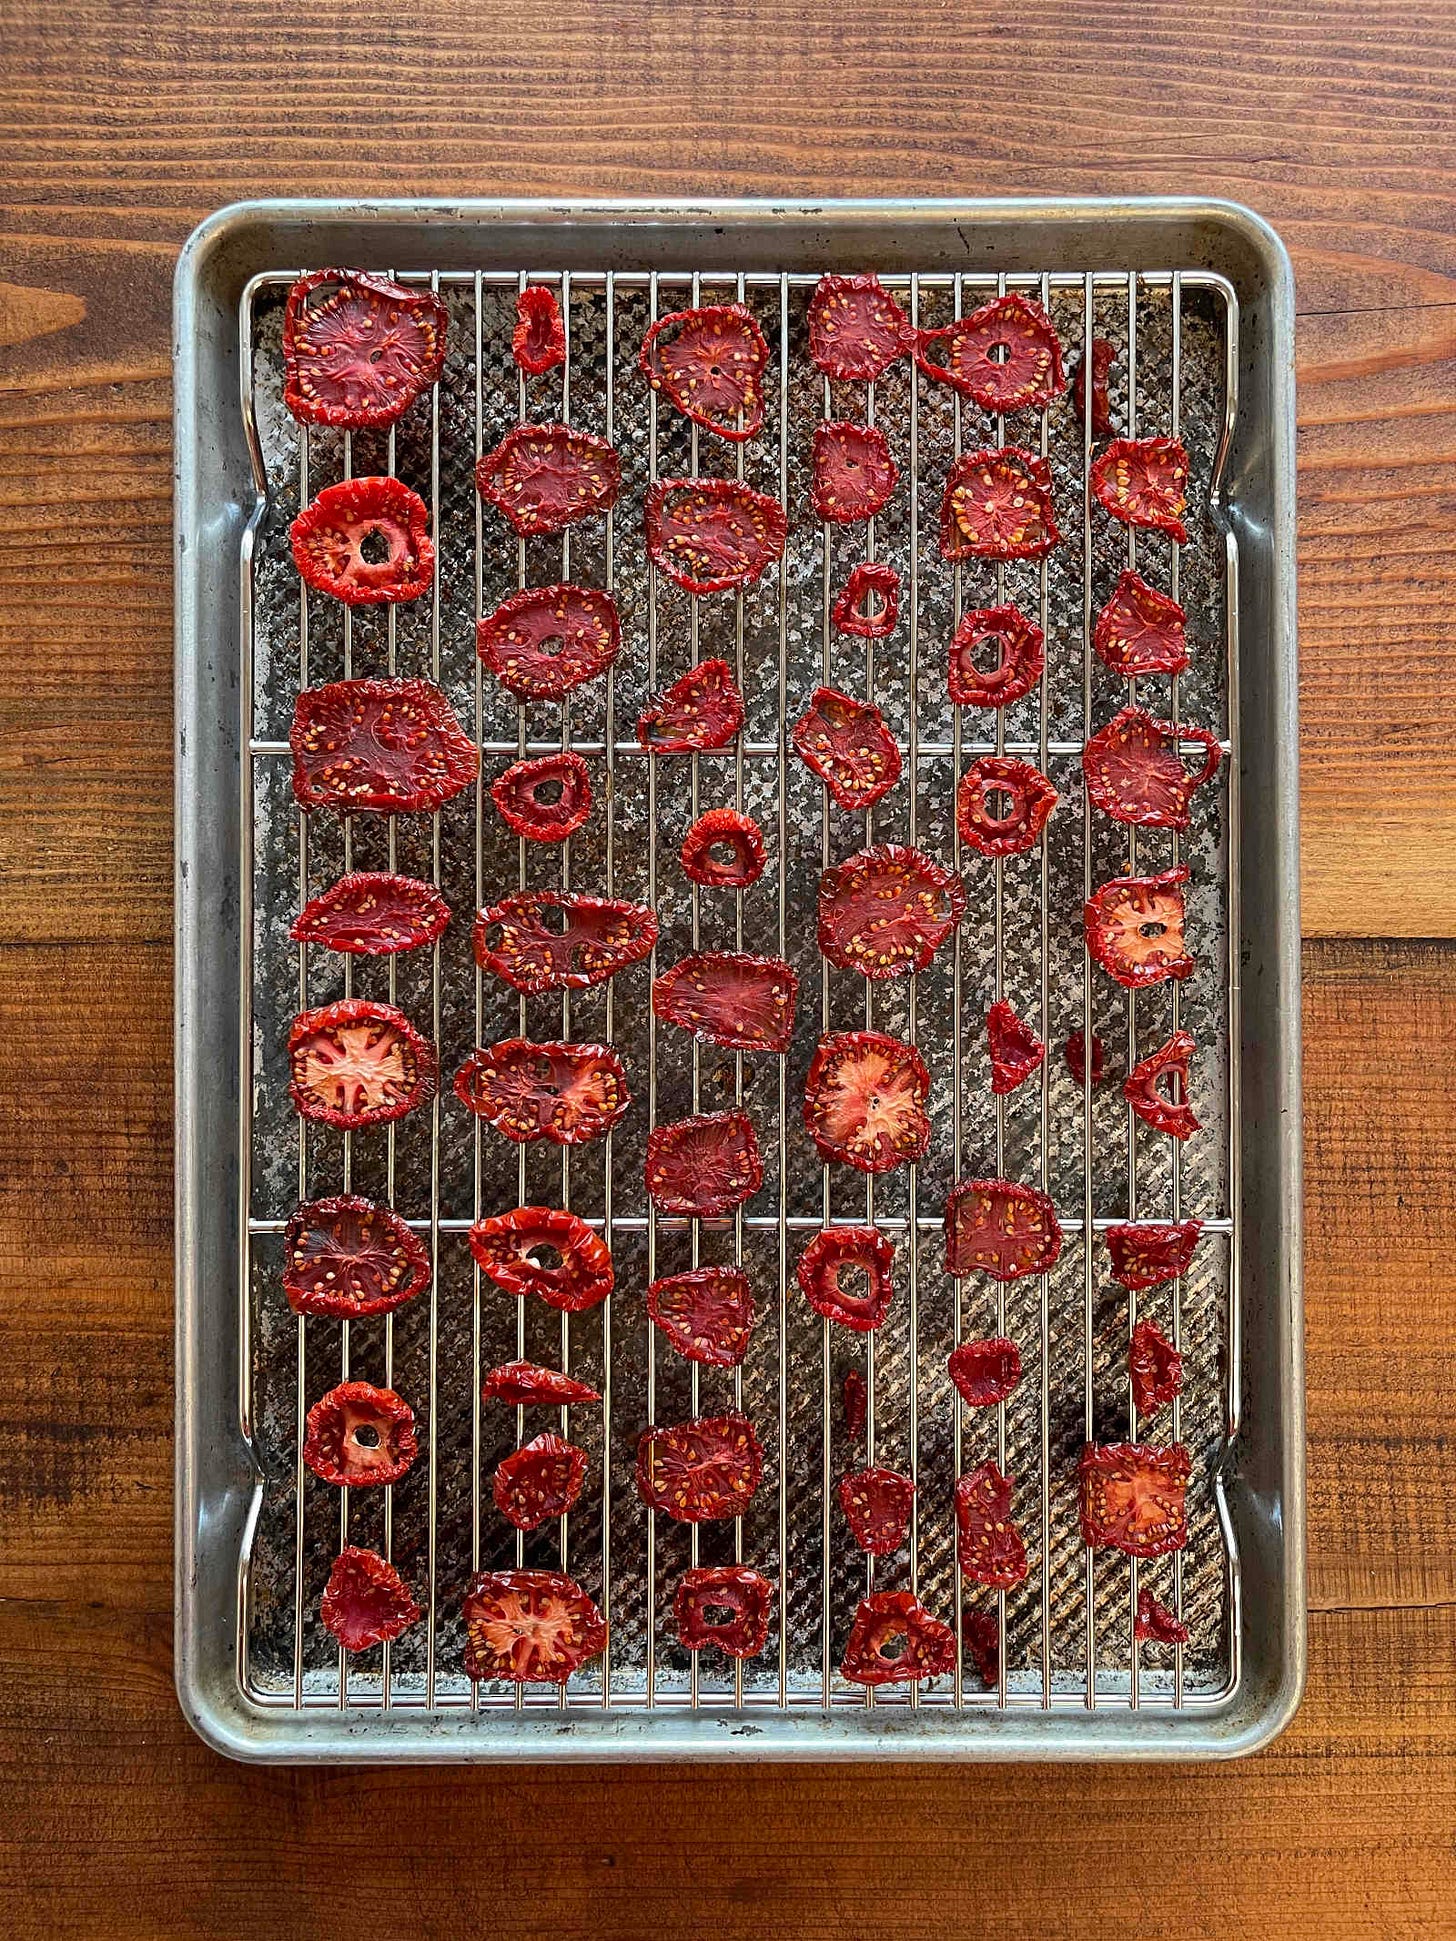
After spending many hours prepping and cooking tomatoes, I like to take an easier route and preserve some through dehydration. Dehydrating food requires little hands-on prep and less cleanup than other food preservation methods. The tomatoes taste something like fruit leather—sweet and delicious!
Reconstitute tomatoes, drop them into sauces and purée for extra tomato flavor, chop them up and stir into biscuit or bread doughs, marinate in olive oil for a salad or pizza topping, eat them straight from the tray…
This time of year, I also dehydrate apples and, if I haven’t eaten it all, a bit of stone fruit.
Go here for directions on dehydrating tomato slices using a few different methods. Go here for dehydrating apple slices in the oven and here for dehydrating apple slices in a solar food dryer.
Fermenting
If you grew a bumper crop of cabbages this year, for example, or find a great deal on them, you may want to preserve some through fermentation—in other words, make sauerkraut. To do that, simply pack salted and chopped cabbage in its liquid in clean jars and wait a few days. (There is a bit more to it but not much. Go here for a basic sauerkraut recipe.)
How does this work? Vegetables are covered in anaerobic, lactic-acid bacteria. When you submerge the chopped cabbage in liquid, these bacteria eat the sugars in the vegetables, reproduce and produce lactic acid, which ferments—and preserves—the food. These acids not only give sauerkraut its tangy, delicious flavor, they also inhibit the growth of bad bacteria.
Once you like the flavor of your sauerkraut, you move it to the refrigerator—or cold cellar if you’re lucky enough to have one—to store, where it will keep for at least a year.
You can ferment all kinds of vegetables, such as:
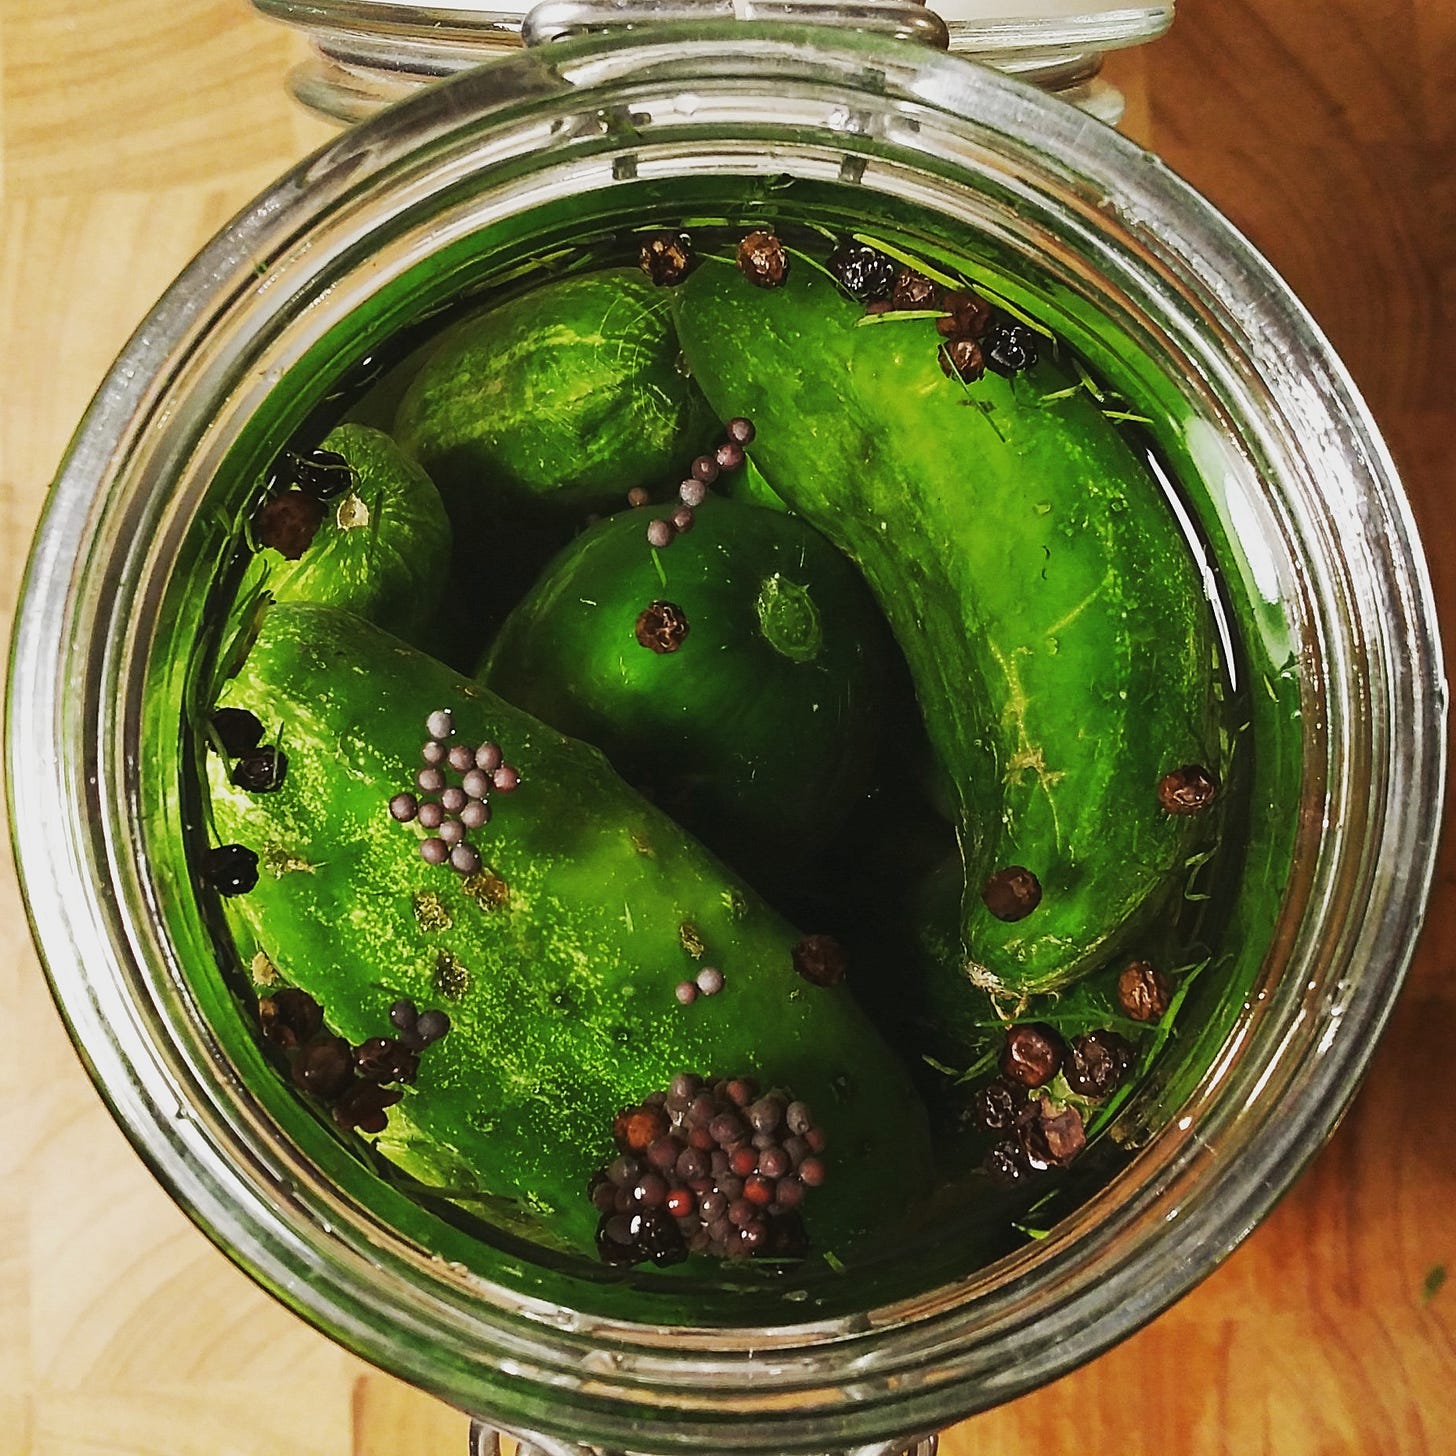
Small cucumbers. Fermented dill pickles are a tiny bit more advanced than sauerkraut but not by much. You place them in a clean jar, pour in a brine and ferment for up to five days before moving them to the refrigerator. You must check them every day, even twice a day—they can turn from crunchy to mushy quickly. You’ll want to transfer them to the refrigerator while they’re still crunchy. Go here for the recipe.
Hot peppers. I have almost polished off the last jar of chopped hot peppers I fermented last summer. These provide me with jalapeños and serranos year-round for various Indian and Mexican dishes. You chop, salt, crush, pack into jars and ferment for a few days or longer. Go here for the instructions.
Random vegetables. You can also pour a brine over various vegetables to ferment them. Go here for more information. And go here for FAQs on fermentation.
I was in the LA Times last month!
How Anne-Marie Bonneau, the ‘Zero Waste Chef,’ broke up with plastic
Upcoming free sourdough starter workshop
Sept 21st, 4pm PT/7pm ET: Start a Sourdough Starter—and Keep It Alive. If you'd like to start a gluten-free starter, you’ll follow the same method I’ll demonstrate in the workshop. Click here to register.

