


5 Cooking Methods that Save Sad Vegetables
Save money by eating all your veggies

Most Americans don’t eat enough fresh produce. At the same time, with their short shelf-life, vegetables (and fruit) go to waste more than any other type of food, squandering money and resources and exacerbating climate change. During the holidays, when our overall waste increases by an astounding 25 percent, even more food goes uneaten. The following ideas for preparing vegetables will help you take a bite out of these numbers over the holidays and throughout the year.
Braise them
Braising transforms past-their-prime vegetables into decadent morsels bursting with concentrated flavor. And it prevents not only the vegetables themselves from going to waste but also random liquids you have on hand and whatever fat you find in the cupboard.
To braise vegetables, brown slices or halves in fat in a single layer in a large pan. Next, add a small amount of liquid and finally, cook covered at a very low temperature for between 20 minutes to over an hour, depending on the vegetable variety and the size of the pieces, until they fall apart.
Enjoy your braised vegetables as a side dish or in a grain bowl or as a pasta topping. Add a layer of them to a shepherd’s pie or put them in a quiche. Braised shallots impart rich flavor to a stew or the top of a pizza—if you can resist eating them straight of the pan. Go here for the full instructions.


Brothify them
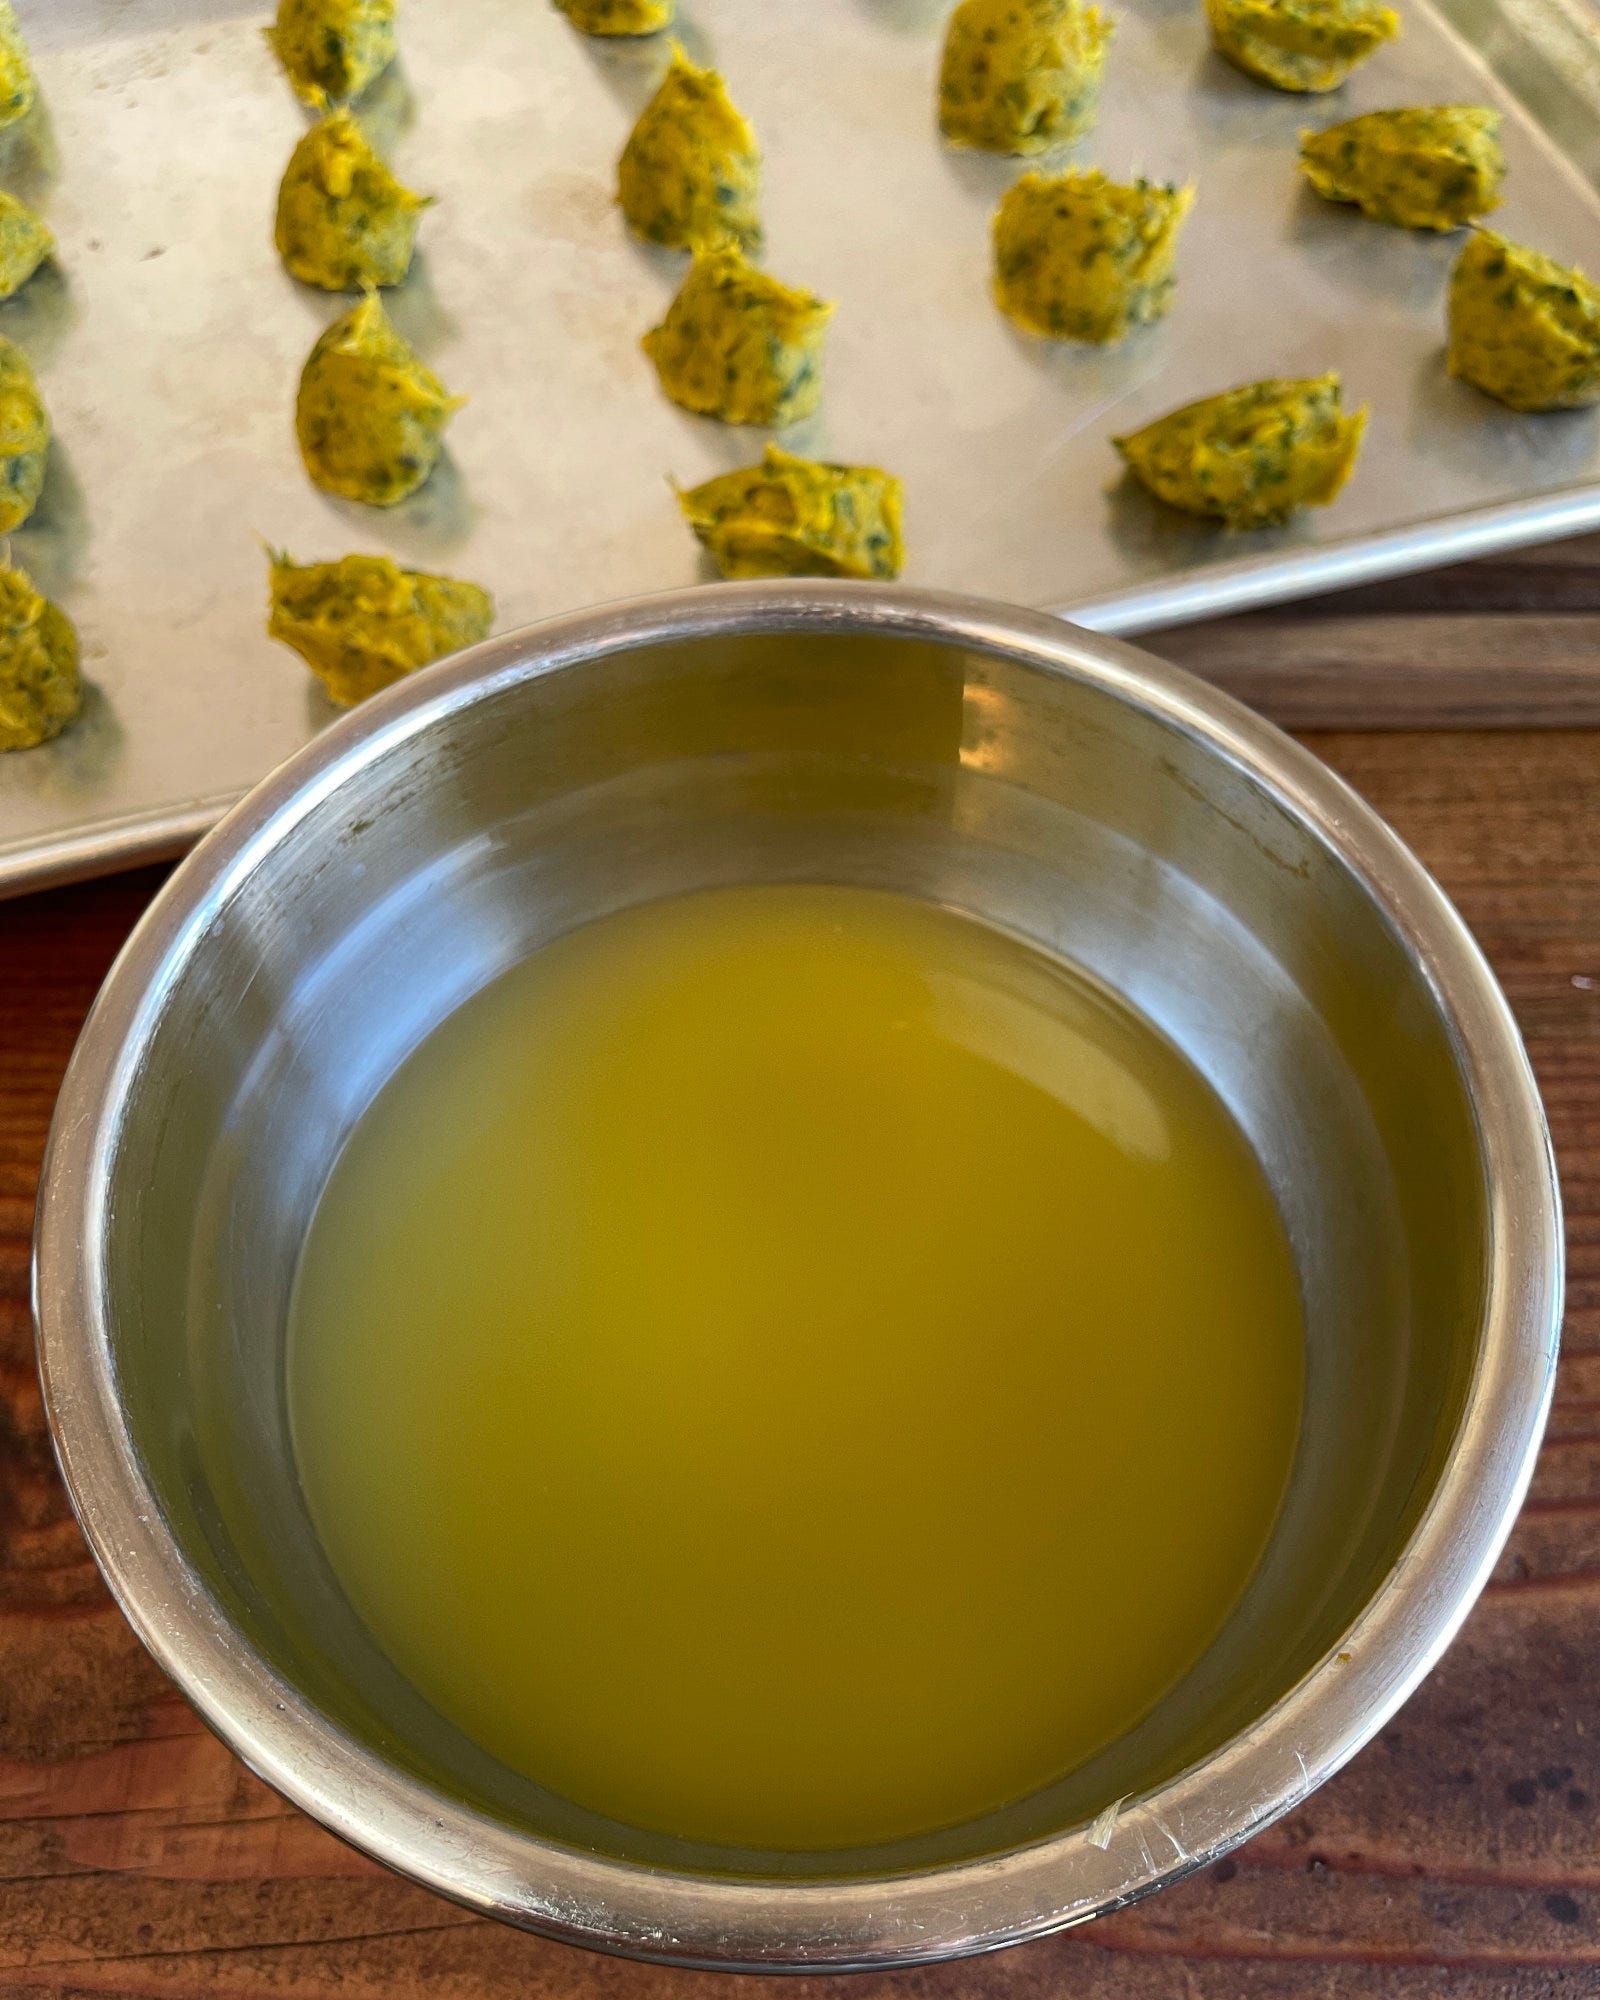
Whole neglected vegetables—bendy carrots, limp celery or wrinkled bell peppers—can go into wonderful, tasty broth. But instead of simmering the vegetables in water, straining out the liquid and composting the spent, exploited vegetable remains, make a concentrated puréed vegetable base with them. Freeze tablespoon-size portions that you later plop into hot water for broth on demand. Go here for the recipe.
This broth keeps not only food out of the waste stream but also packaging. Store-bought broth comes in either a plastic-lined can or in a Tetra-Pak which, like any product with enough money and equipment thrown at it, can be recycled.* Homemade, on the other hand, tastes better and won’t leave you wondering about the hazardous chemicals lurking in the packaging because it has no packaging.
* where facilities exist
Ferment them
To ferment vegetables, wash and prep them, salt them, stuff them into a jar and wait. The process really is that simple. The good bacteria present on the vegetables will consume the carbohydrates and produce acids, impart that tangy, pickle flavor, while also preserving the vegetables.
Dry brining
If you have excess cabbage, you can soon enjoy a jar of sour, salty, gut-friendly sauerkraut. You’ll shred the cabbage, salt it, crush it with your hands, stuff it into jars and wait at least 3 days but can let the sauerkraut go for several weeks if you prefer a tangier taste. When you like the flavor, move it to the refrigerator or cold cellar. You can add other vegetables in need of a good home, such as carrots, onions, garlic, radishes, bell peppers… Go here for a simple sauerkraut recipe. (Go here for the slightly more advanced kimchi recipe.)
Brining
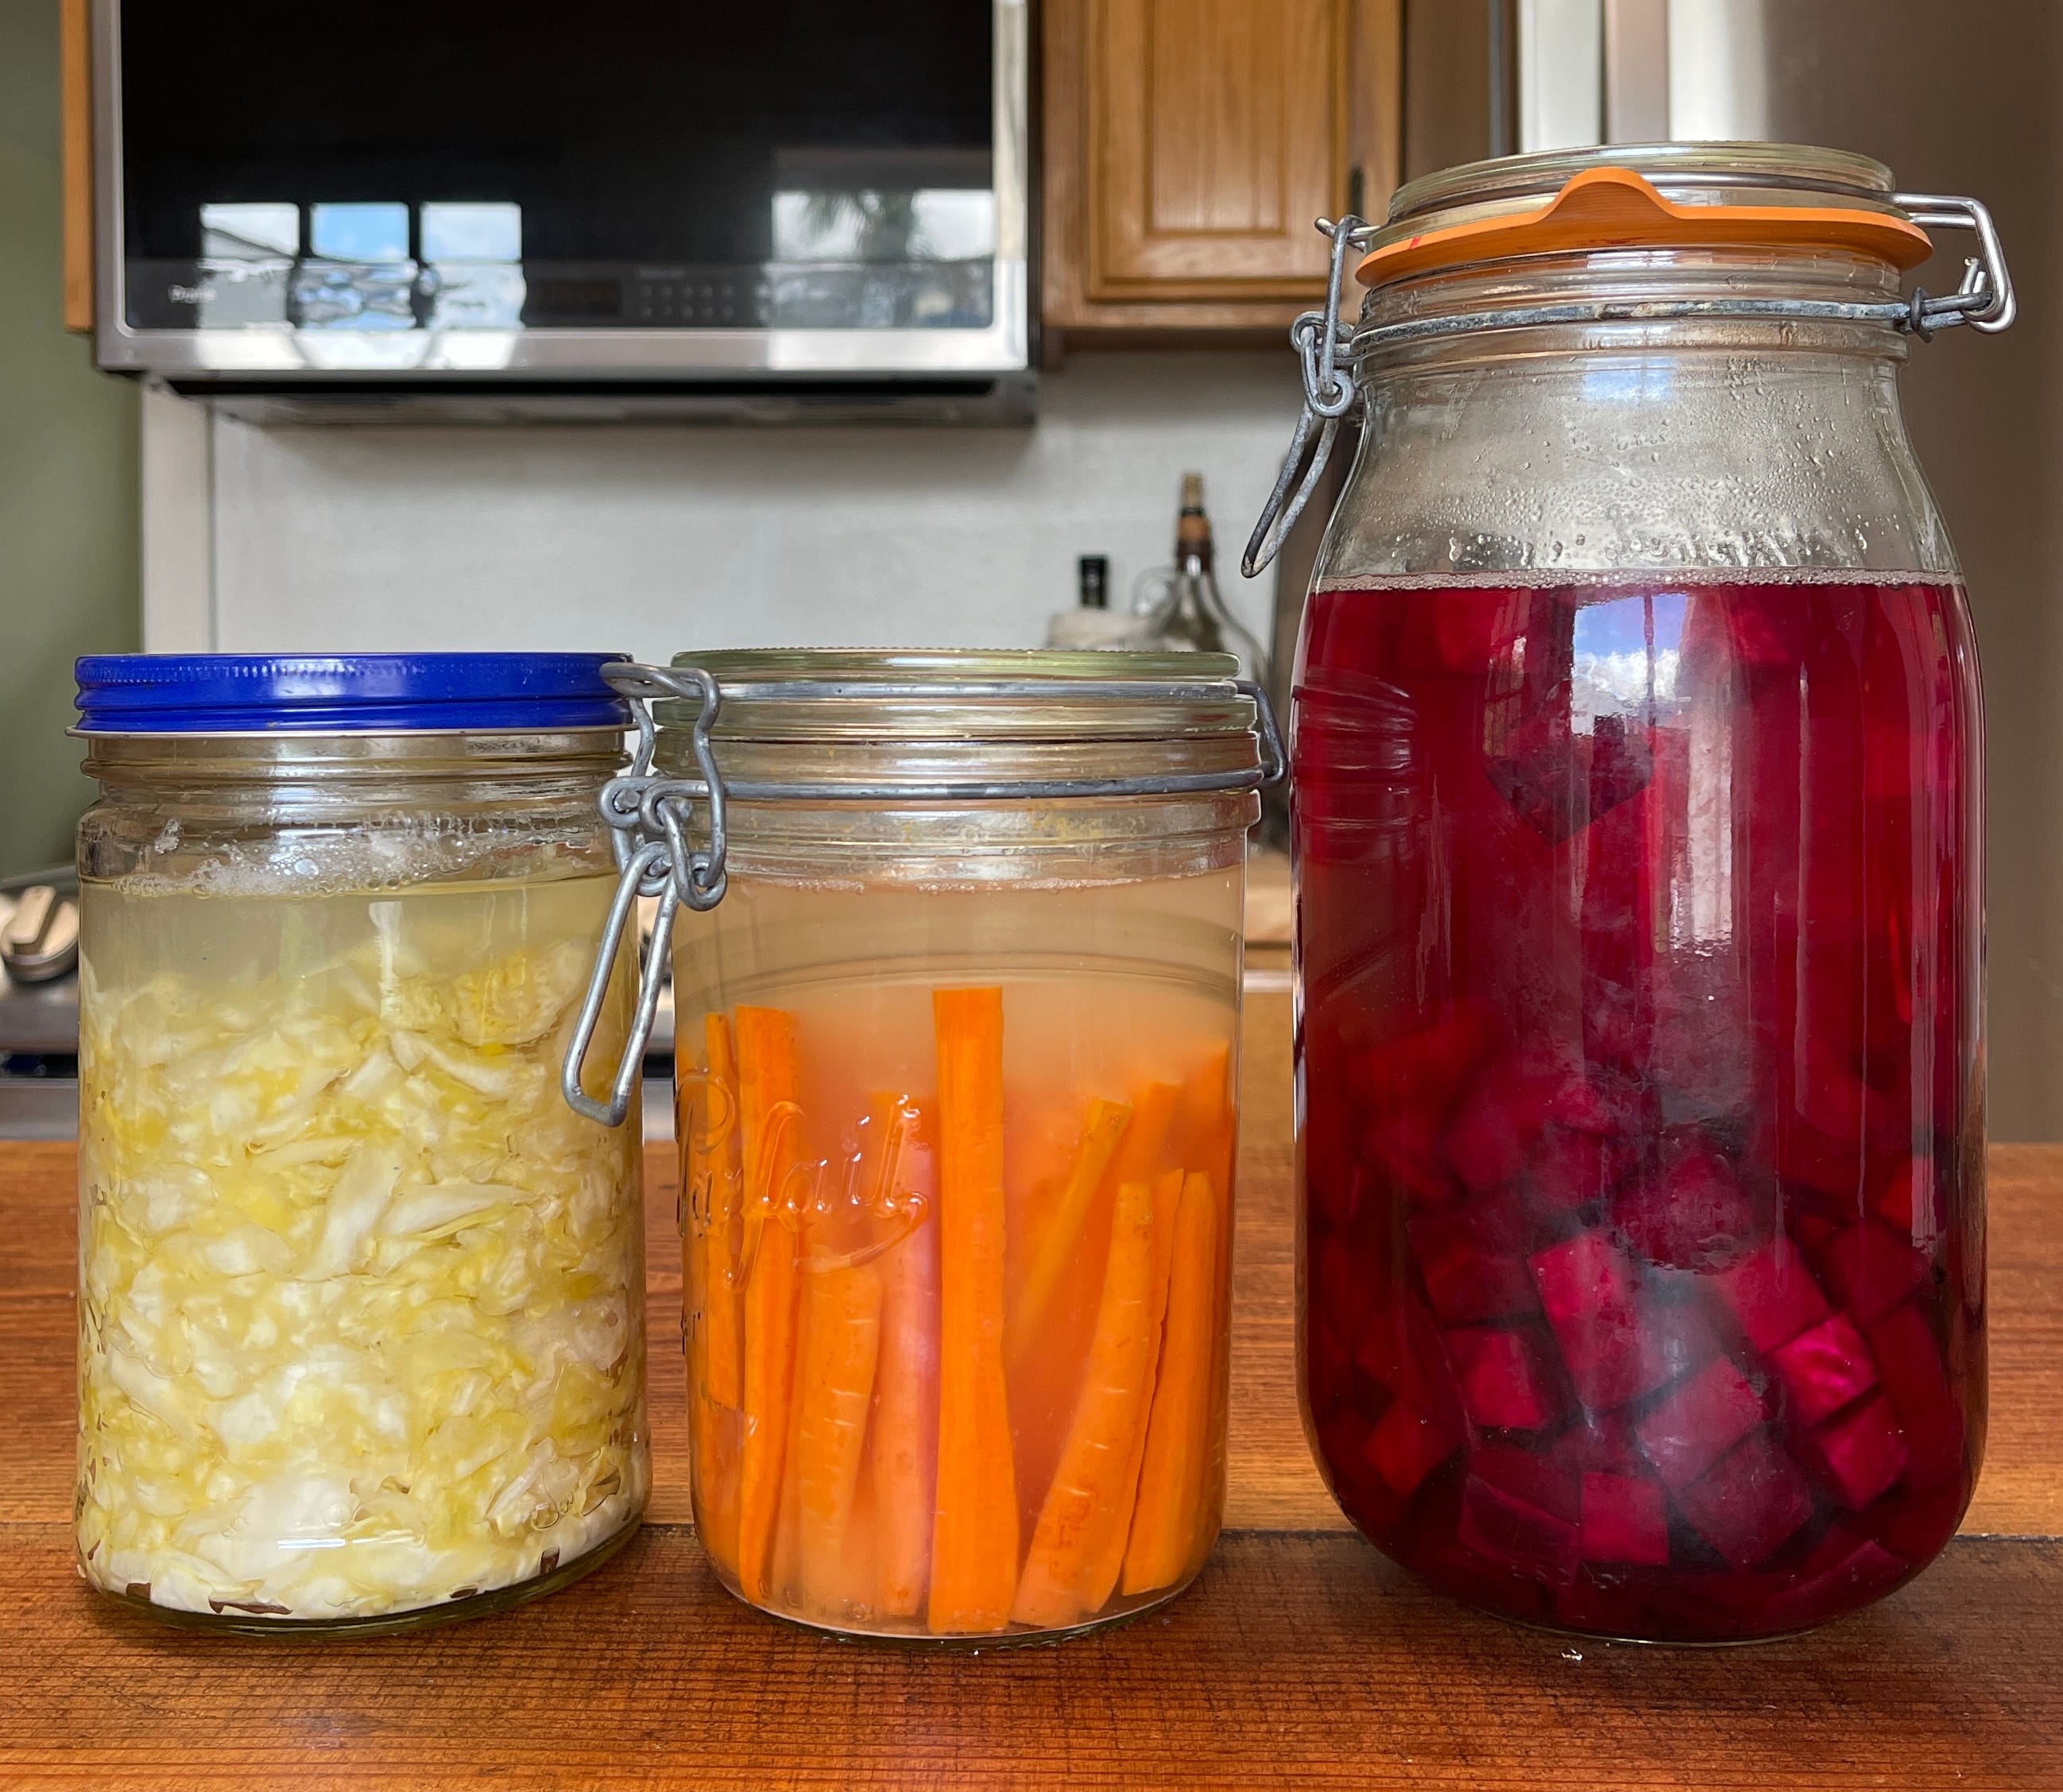
You can also ferment whole vegetables in a brine. We’ll use carrots as an example but cauliflower florets or onion slices (slice them about 1/4 inch thick) or radishes also work. Fermentation guru Kirsten Shockey uses a basic 3 percent brine for harder vegetables and a higher concentration of salt (5.25 percent) for softer ones like cucumbers.
Fermented carrot sticks
If you’d like to add peeled garlic cloves or jalapeño slices, place those in the bottom of the clean jar you’ll ferment the carrots in. Scrub the carrots and cut them into carrot sticks that, when packed in the jar standing up, leave about 4 inches of headspace. You may want to pack them in as you prep so you prep just the right amount.
If you have a scale:
Pour enough water into the jar to cover the carrot sticks, leaving a 2-inch space at the top.
Put a bowl or jar or measuring cup on a scale and tare it out to 0 grams. Pour the water from the jar with the carrots into the container on the scale. Multiply that weight by 3 percent. This is the amount of sea salt you’ll use. For example, if the scale reads 473 grams, add 14 grams of sea salt.
Measure the sea salt and stir it into the water. Pour the resulting brine into the jar of carrots.
If you don’t have a scale:
Make a brine. For every two cups of water, stir in 1 tablespoon of sea salt. Scale this up or down as needed. Pour in enough of the brine to cover the carrot sticks and leave 2 inches of headspace.
If you have it, place a cabbage leaf or a grape leaf on top of the carrot sticks. Place a clean boiled rock, glass weight or smaller jar inside the mouth of the jar. Secure a clean cloth to the top of the jar with a string or rubber band. Or close the jar with the lid. Set the jar on a plate at room temperature for one to two weeks. If you closed the jar, open it every day to release carbon dioxide. Throughout the fermentation, make sure the vegetables are submerged.
You’ll notice the water become cloudy as the fermentation progresses—taste the vegetables at that point. When you like the flavor, they’re done.
Transfer the vegetables to the refrigerator or cold cellar. They will keep for several months or up to a year or longer, depending on the type of vegetable (dense vegetables keep longer than soft vegetables). As you eat the vegetables, add brine if needed to keep them submerged.
Freeze them
If you don’t think you can cook or eat your vegetables before they head south, freeze what you can.
Some vegetables, such as green beans, retain their color and crunch if you blanch them before freezing (go here for the instructions). Ditto for carrots, cauliflower, asparagus and broccoli.
Did you chop too many onions? Throw those in the freezer and use them in any dish that doesn’t require a crunchy texture, such as soups, stews and sauces. No need to blanch them first.
Whole tomatoes can go into the freezer. When you thaw them, the skins slip off.
Roast them
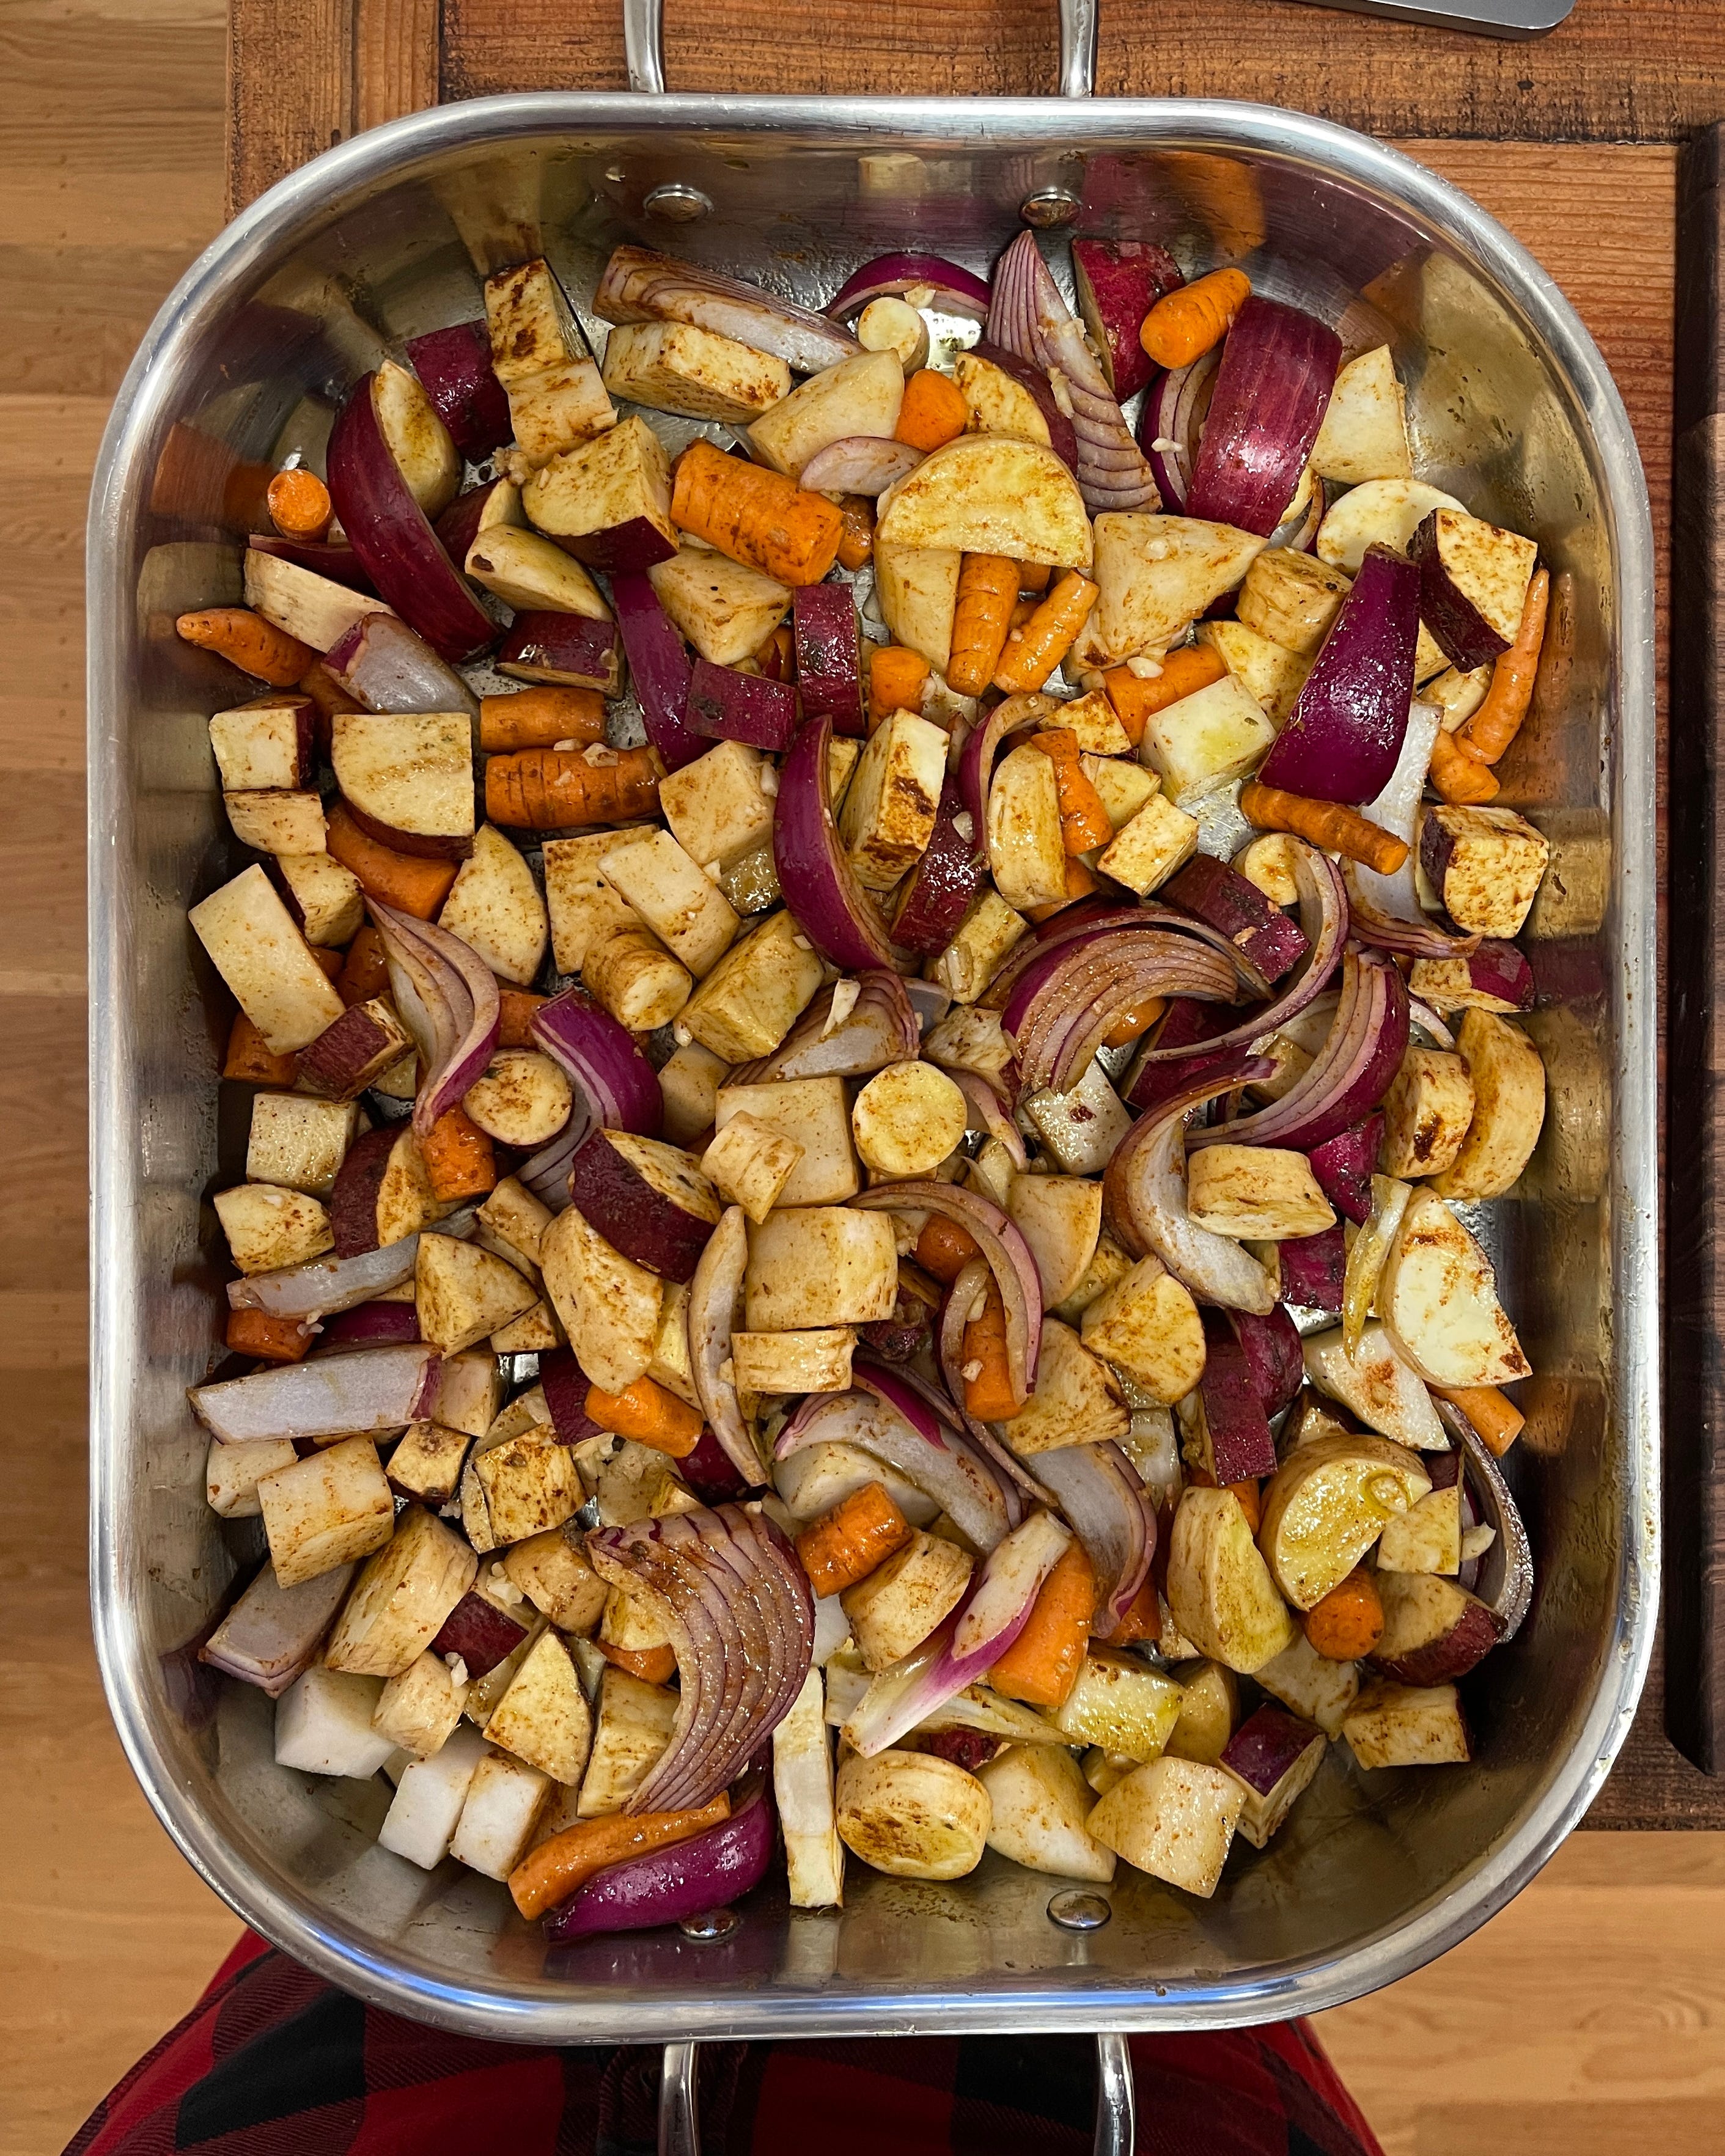
Group vegetables that roast in a similar amount of time, like the root vegetables pictured below. Cut them into bite-size pieces, toss them in olive oil, sprinkle on salt and, if desired, spices or garlic. Roast at 425ºF until browned and crispy and tender inside, for 30 minutes to an hour, depending on the vegetable variety.
Enjoy the roasted vegetables as a side dish, purée them in broth for soup, stir them into a scramble, add them to a grain bowl, fill a pot pie or hand pies with them…they won’t last long!
Sourdough starter class!
Saturday, January 4th, 10am PT/1pm ET. Only $9 per person! (Or per device. Have as many people sitting in front of your screen as you like.) Makes a great zero-waste gift for the bakers on your list! Go here to register.

So many great ideas! Sad vegetables need love too. I keep a washed out OJ carton in the freezer to house veg and herb scraps from prepping chopping. Once full, I throw it a big pot with a whole chicken, peppercorns and water to make a homemade broth and cooked chicken meat to enjoy for days.
I'd love to see an article about how to preserve leafy vegetables for later. I grow a lot of kale, chard, spinach, etc but don't know of any way to preserve except frozen, and then they can only really be used in soup.